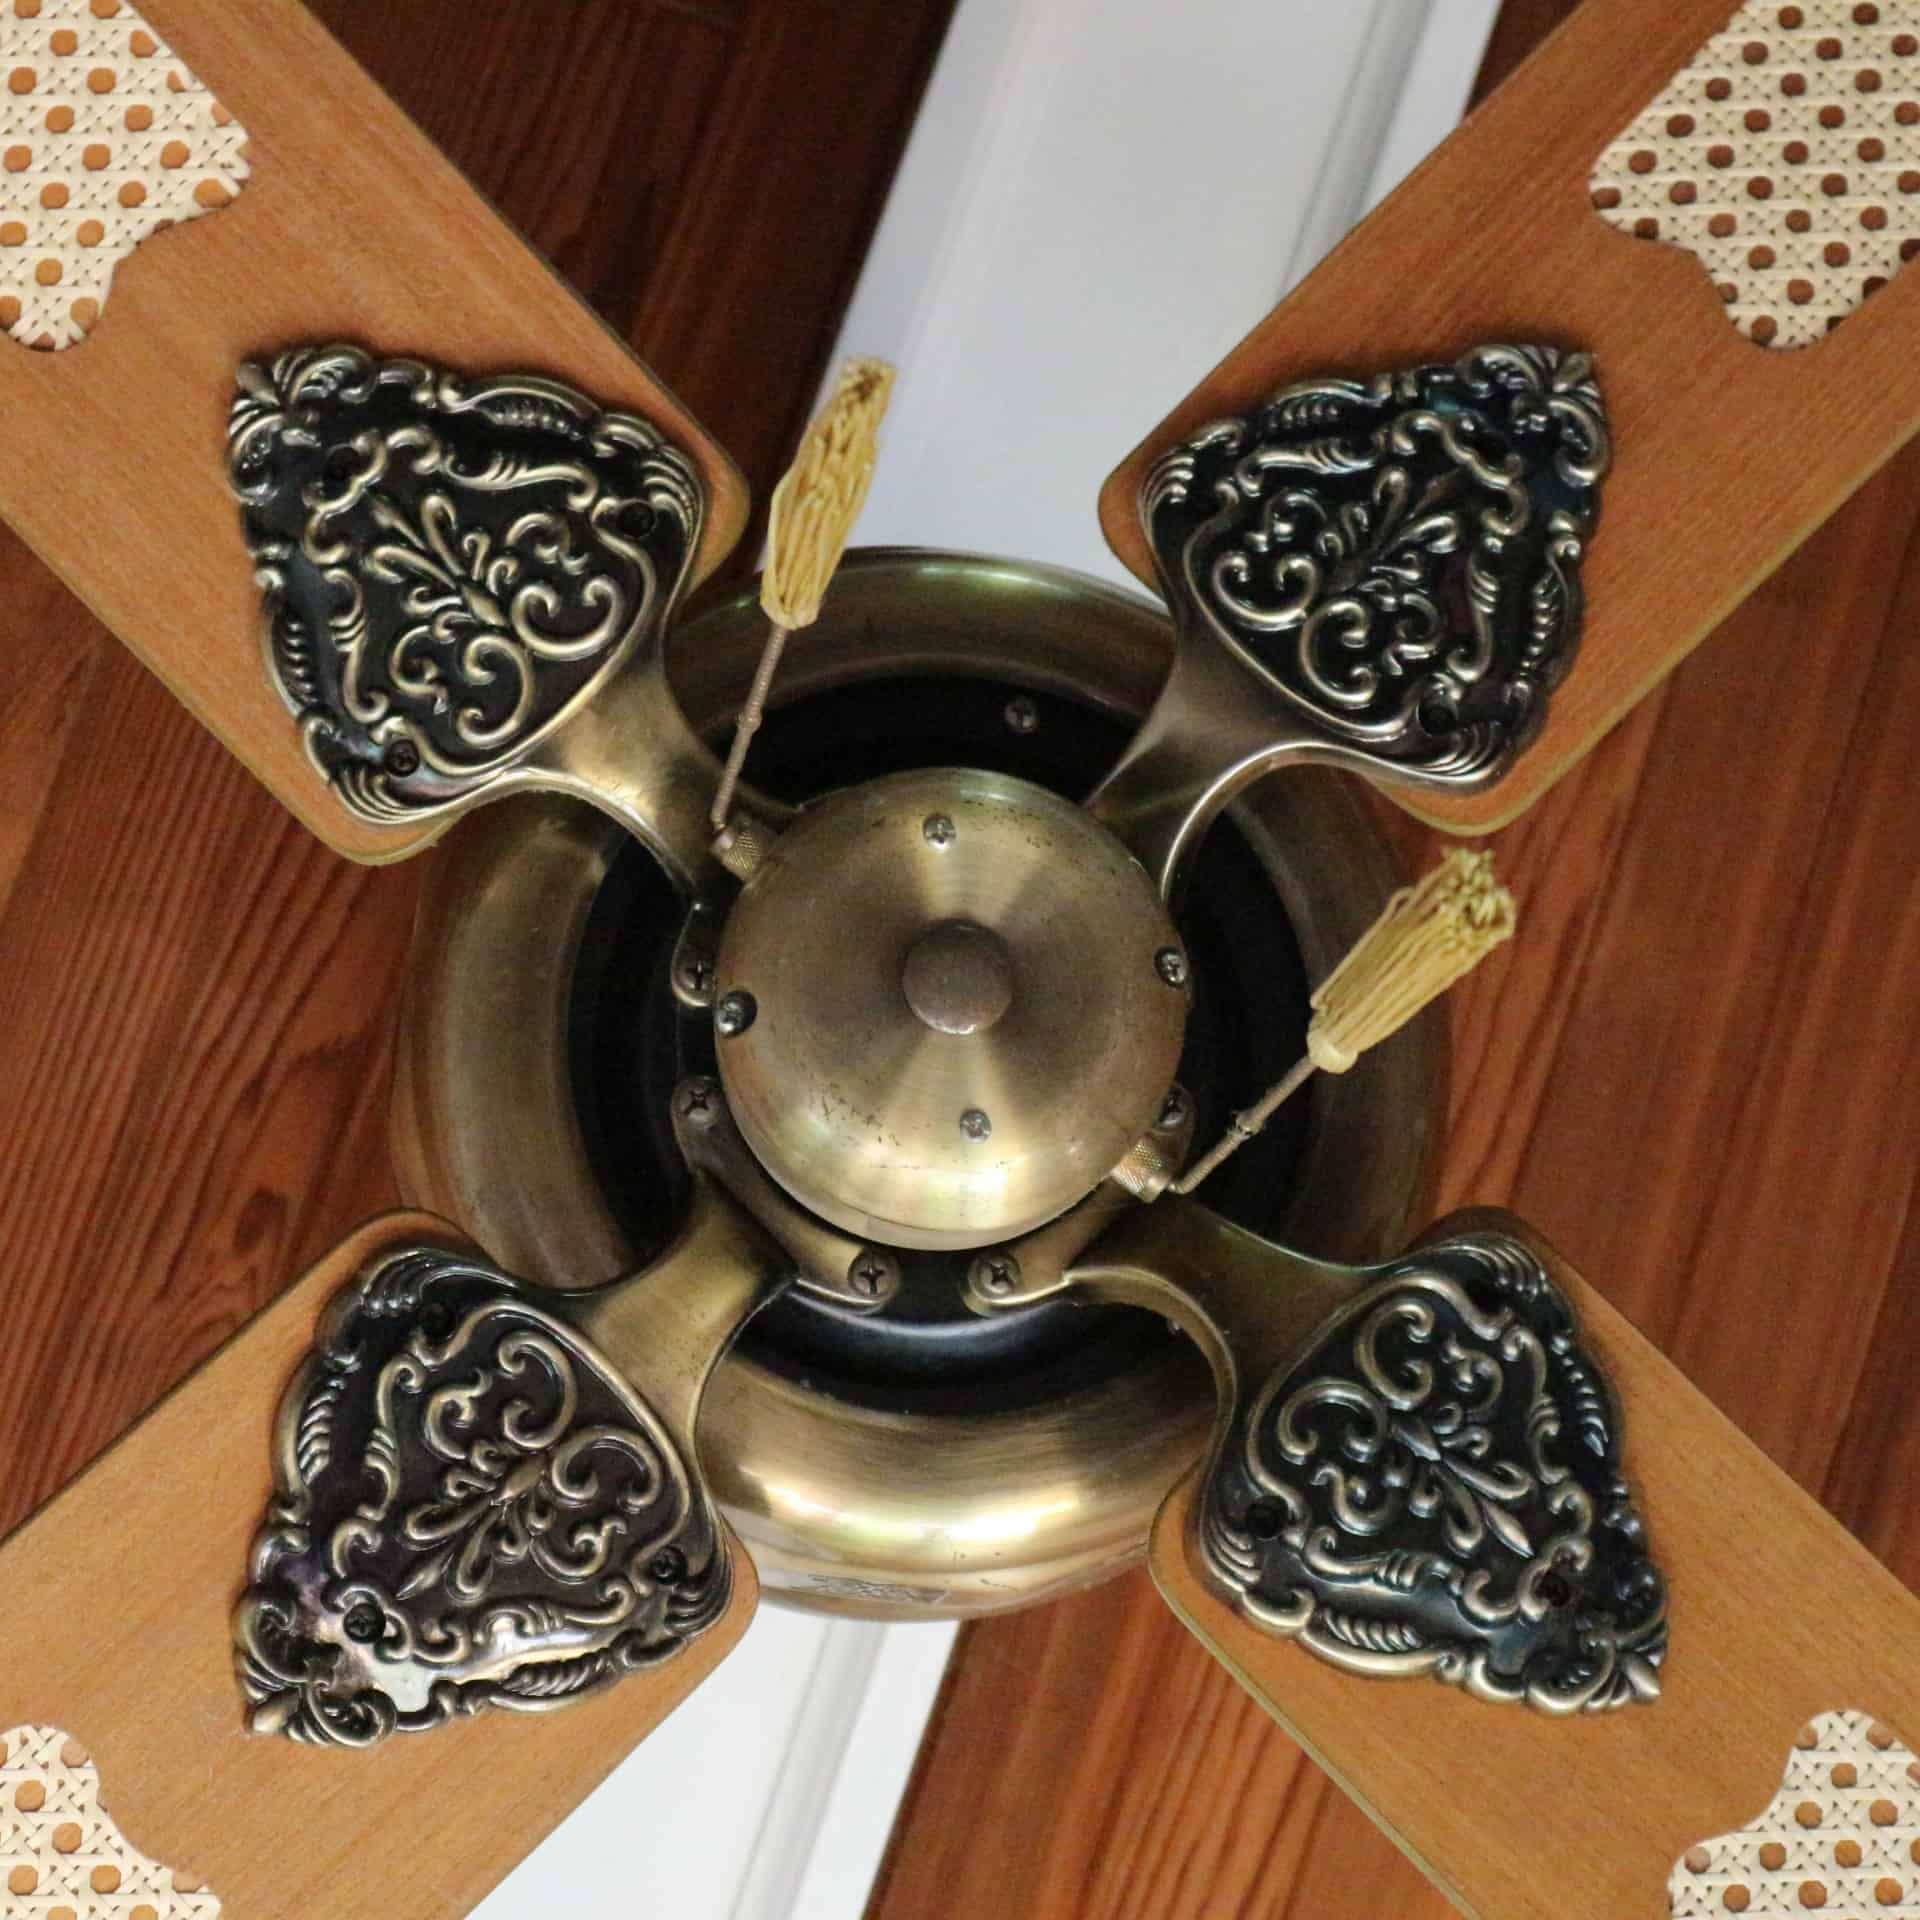
For many reasons, ceiling fan blades can start to droop or sag over time, causing them to work inefficiently and even become dangerous to people walking underneath them. Fortunately, the solution to this problem is a simple one, which means you can have the perfect ceiling fan blades again in no time. We lay out everything you’ll need to fix your drooping outdoor ceiling fan blades.
The Usual Problem
Ceiling fan blades are held together with a set of screws, usually three screws for each blade. The most common reason for saggy ceiling fan blades is the screws have become loose. This means the solution is quite simple — simply tighten up the screws!
Most people can do this even without any mechanical ability, because all you do is take a standard screwdriver, stand on a step-ladder and tighten the screws. Easy peasy.
If you do this and the problem persists, it might be a flaw in the construction material.
Ceiling Fan Blade Material
If the screws aren’t the culprit, the material your ceiling fan blades are made of might be the problem.
Less expensive ceiling fans are often made out of a pressed wood or composite material. If the blades weren’t sealed correctly during the manufacturing process, moisture can collect in certain areas and cause the blades to sag. Unfortunately, the best solution in this case is to purchase a new set of ceiling fan blades.
You see, you can’t permanently fix the blades if the material itself sags. The glue that holds the wood together has already been compromised. Nothing you do will be a permanent solution to the problem.
In this situation, if you keep using the fan it is possible for the blades to actually break apart. This is yet another reason to go ahead and purchase another ceiling fan.
Which ceiling fan blade material should you choose? Real wood and composite plastic blades will last you for years.
Solving The Problem: Checklist
If your ceiling fan blades are sagging or drooping, you usually can’t determine a solution until you find out why they’re sagging in the first place. If you have no clue what the problem is, try the following actions in this order:
- Make sure the fan blades are attached firmly to the brackets by tightening the screws
- Do the same thing with the fan brackets where they are attached to the fan motor
- Remove each blade one at a time and flip them over so that the underside is now facing your ceiling
- Replace the blades with sturdier options
Sizing Your Replacement Blades
Typically, you can simply bring your old fan blade into the hardware store when buying a new one. This way you can use it as a point of reference as you pick out your new ones. However, it may not be desirable to use the exact same size.
If you want to ensure that the fan blades won’t droop in the future, consider buying a lighter, shorter fan blade. This reduces the amount of stress put on the ceiling fan, reducing the likelihood that you’ll face this problem again.
However, beware: shorter fan blades will result in reduced airflow. Take this into account as you make your decision.
Buying A New Ceiling Fan
Often, replacement fan blades approach the cost of a brand new ceiling fan. If this is the case, replacing your unit may be a more attractive option. Be sure to check online for the best prices, outdoor ceiling fans regularly cost less than $100. However, luxury options regularly cost more (as much as $300 or more).
This model is one of my favorite choices.
Conversely, basic replacement blades can cost as little as $10 for a set of 5. But these are small and made from the cheapest material possible. For most ceiling fans, you’ll be paying around $40 or so for an apples-to-apples replacement.

