
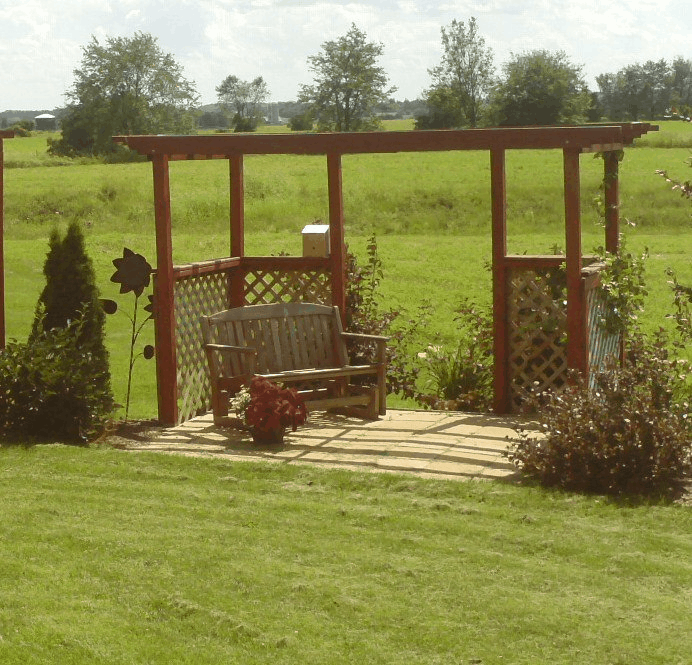
Pergolas hit above their weight class when it comes to outdoor fixtures. You can do all sorts of things with them — use them for shade, place container plants on them, and even use them as a structure for a light source.
As you’ll see in this tutorial, many configurations exist for how you can lay out your lights. Perpendicular and zig-zag patterns are the norms; each has pros and cons. You can also make the lights as permanent or impermanent as possible.
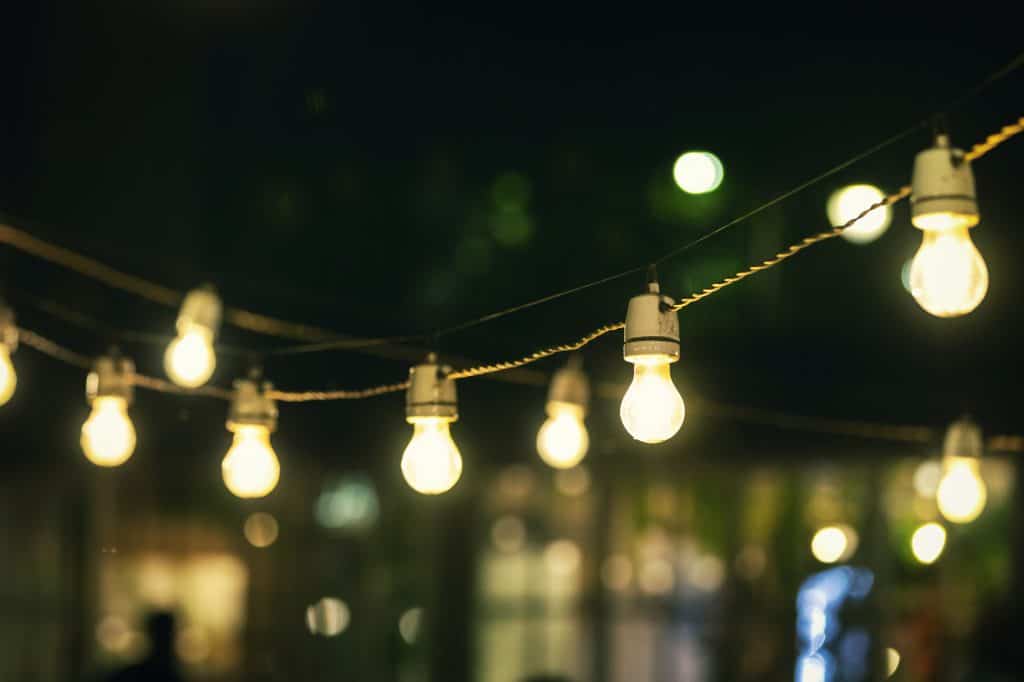
Some homeowners opt to simply cover the supports with outdoor string lights. Many people install their outdoor string lights for Christmas and then take them down after the holiday season is over. For those folks, their installation is temporary and less attention should go into their hanging.
Similar to stringing outdoor string lights, coaxial staples are really useful here. They may be used for pergola support pillars and lights suspended from the main body of the pergola.
Let’s dive in and look at the steps required to install outdoor string lights on your pergola.
Steps to hang outdoor string lights on a pergola
1. Unscrew all light bulbs (if applicable)
If you already have a pergola in your backyard with broken bulbs hooked in that you want to replace, then make sure to unscrew all of the outdoor lights in the outdoor space which are in the holders in the pergola.
This is only applicable if you already have bulbs screwed in place. If you don’t have bulbs in place, then just start with step number 2.
2. Determine how many string lights you need (if applicable)
If you haven’t yet purchased your string lights, you need to determine how many string lights you’ll need. We wrote about that here. To get a full idea, you should consider skimming that article.
However, if you’re in a hurry, you can simply measure the length of the linear feet where you’ll install lights onto the pergola. Pad this 5-10% to guarantee you’ll have an adequate amount of slack.
You may need an outside extension cable if the outlet is too distant from the mounting point. If you’re interested, we also wrote an article about how to hide outdoor extension cords, so you don’t have an unsightly cord littering your space.
3. Figure out how far apart the hooks will be
After purchasing and testing your lights, the next step is to choose where they will be mounted. You’ll want to keep the hooks as close together as necessary to support the lights and keep them from sagging (we also wrote about that here).
There’s no hard and fast rule here — if you’re using something that can support the weight of the lights, you’ll keep them from sagging as long as the cord is taut enough.
4. Screw in the screw hooks
We’ve written a lot about how to hang string lights without nails, so if you don’t want to put holes in the side of your pergola, you can repurpose that guide.
Otherwise, it’s time to install cup hooks on the mounting sites. Depending on the mounting location’s material, it may be required to predrill holes for the hooks. Pergolas are typically made from a softer wood, so this may not be necessary.
You can also use staples at this step, which can be less overall work if you’re proficient with a staple gun. Keep your overall spacing and design in mind as you pull them tight.
If the hanging outdoor lights and patio light kit include globe or Edison-style bulbs, remove them before joining the strings, and they will be less fragile and lighter.
5. Thread the wire through the screw hooks
After installing the hooks, it is time to hang the lights. If you reside in a very windy place or if the outdoor string lights will be covering a broad area, you may elect to utilize a wire-mounting kit to stabilize them. Install the wire mounting kit before installing the outdoor string lights.
6. Re-attach the lights
Begin to hang outdoor string lights by connecting them to the mounting points closest to the power supply; use an outside extension wire if required. Utilize zip ties to hold the strand in place. If you removed the light bulbs from their sockets, replace them now.
7. Plug the outdoor lights in
After the lights have been properly installed, plug them in and enjoy the atmosphere they provide. You can also use an extension cord wire to get enough light on the patio string lights.
Weatherproof Outlets
If you live in a cold or snowy region, you must remove your string lights throughout the winter to preserve them and optimize their lifespan. You can also opt for weatherproof outlets also to protect your outlets in any kind of weather, either as Christmas lights or in your outdoor space for patio string lights as well as for warmer weather with light strands and glass bulbs for string lights.
How to hang outdoor string lights without using screws or nails
You may believe the whole project is doomed if you want to hang outdoor string lights but don’t have any nails on hand. Luckily, this isn’t the case. And we wrote an entire article about how to hang outdoor string lights without putting holes in the wall.
If you’re in a hurry, you can just focus on using light clips with an adhesive back, like these from Amazon (affiliate link).
Bottom Line
You can use various ways to decorate your place with string lights. The tips and ideas mentioned above are by no means exhaustive. Your design skills, creativity, and ability to think out of the box will help you play better with string lights decorations.
Happy decorating!