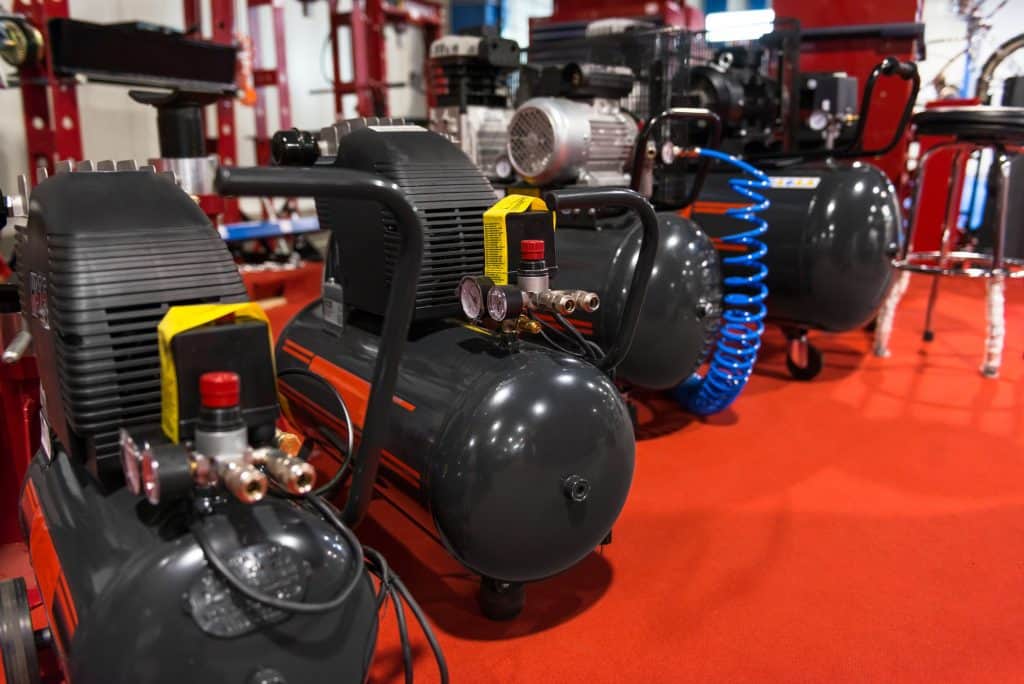
You can always expect your garage to be a noisy place, but that doesn’t mean that you’re helpless about it. This is especially true when it comes to your air compressor. Given that the air compressor is one of the noisiest tools of a working garage, knowing how to store it outside safely can be very helpful.
Here’s how you can store your air compressor outside safely:
- Design a concrete pad.
- Build a wood structure.
- Soundproof the inside.
- Add a door and ventilation.
- Run the lines inside the garage.
- Mount the regulator.
In this article, you’ll learn how to store your air compressor outside while protecting it from the elements. Additionally, this method will even help it become a little bit quieter, which is especially helpful if you have neighbors close to you.
1. Design a Concrete Pad
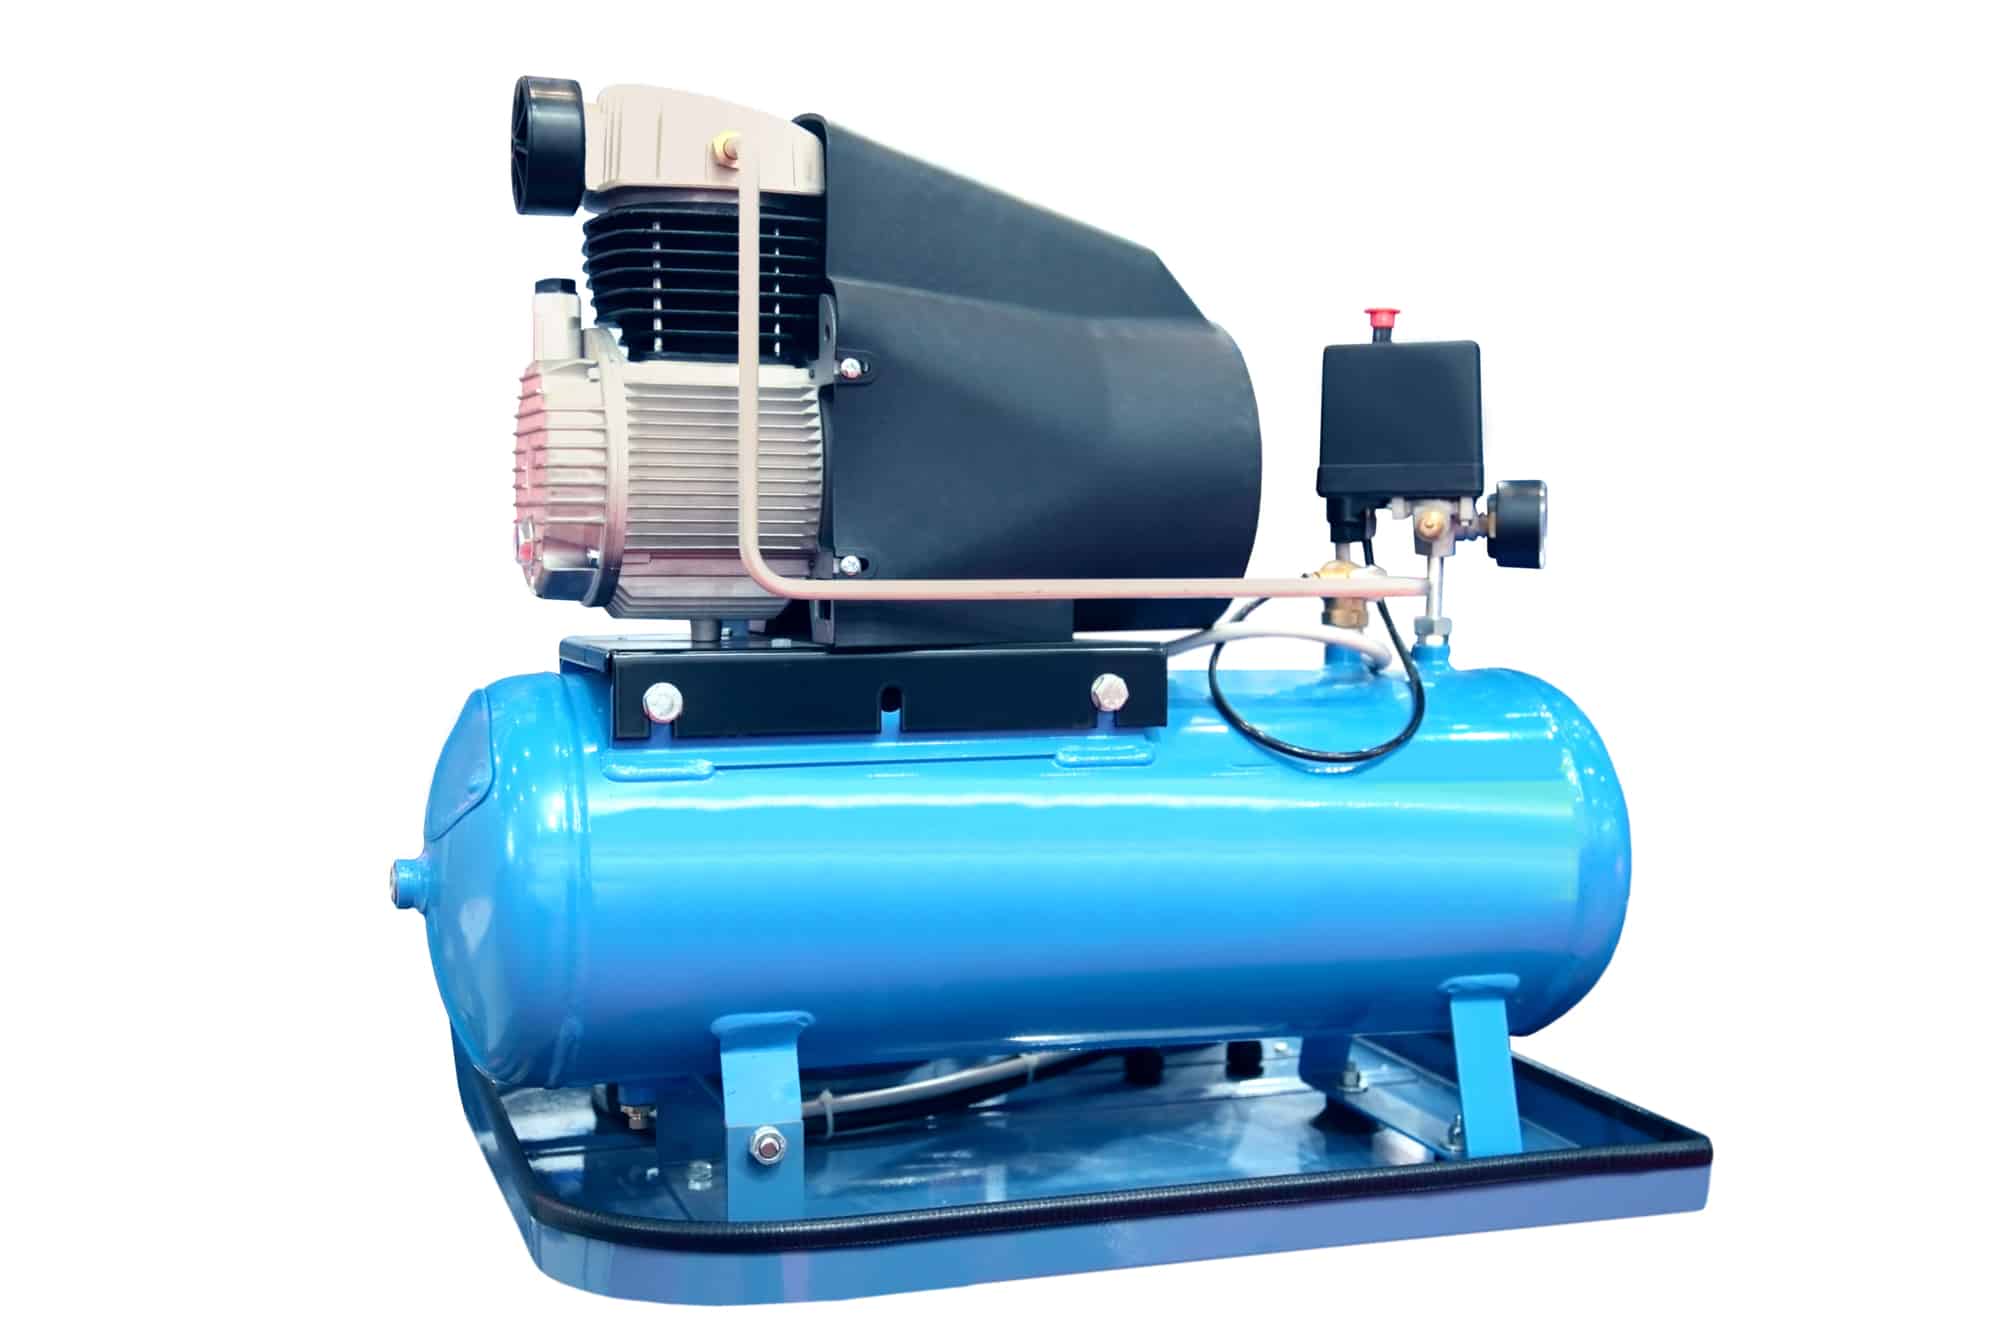
It’s essential to place your air compressor on a solid surface. If you place it on dirt or soil, the air compressor will sink in it. What is more, all the ground moisture will damage its bottom and make it rust. When you reduce the structural integrity of your air compressor, it is very possible to result in explosions.
So, the basic design of the surface should be a small concrete pad. You will need to:
- Dig a little hole and lay down some wood in the shape of a square. It should be placed exactly where you want the concrete to go.
- Mix up some concrete in a bucket with a shovel.
- Pour the concrete until the pad where your air compressor will rest looks smooth.
The slab doesn’t have to be perfect. It’s for your air compressor and isn’t meant to be aesthetically pleasing, so don’t worry if it doesn’t look ideal. It only needs to be straight enough for the air compressor to function on it. Having a square shape is best because other shapes can make the sides look awkward.
2. Build a Wood Structure
The second step is to build a wood structure using plywood that you’ll bolt into the concrete pad. It’s a relatively simple step, as it’s up to you how you want the structure to look.
For example, you can apply some roof shingles to the top of it, or you can put sliding on it, such as PVC sliding. However, if you’d prefer to get done with it as soon as possible, you can also leave it as bare wood until it starts to fade.
3. Soundproof the Inside
The most crucial step is to coat the inside of this structure with soundproofing material. You can easily buy this online or at your local hardware store.
One option is to use small soundproof insulation panels. They come in many thickness variations and patterns. For instance, there are wavy patterns or less dynamic ones, depending on your preference.
You’ll have to put up the soundproofing material you choose on the enclosure wall to help contain a little bit of the noise.
While the wood structure itself will reduce the noise, additional soundproofing is crucial if you want to make sure not to disturb anyone. Soundproofing material is generally inexpensive and can make a big difference.
4. Add a Door and Ventilation
At this point, you can put the actual air compressor inside the compressor shed. The shed should have soundproofing on both sides. If you didn’t add any sliding at the entrance, you could get an ordinary handle gate latch and plain gate hinges.
It would be best if you made sure that there’s plenty of ventilation from the top to pull fresh air into the shed. There needs to be a lot of air space and flow to avoid the air compressor getting too hot, especially in the summer. If you spot any issues with the airflow, you should put a fan at the back of the shed to pull air through the enclosure.
5. Run the Lines Inside the Garage
To connect the air compressor to your garage, you need to run the airlines through the side of the garage. Then, you can plumb the lines through the entire garage. You should go through the most convenient wall. Consider insulating the incoming airline. A bare airline can result in drastic temperature swings, which can cause other issues.
Once the pipe comes through the wall, it should go into a regulator device specifically made for the hose to enter. If you’re wondering what would serve as an appropriate regulator, it’s best to consult a professional for help.
The device that you use should control the master air pressure regulator. The regulator will show you the air pressure coming into the garage from the air compressor. This, in turn, will allow you to see what pressure the air compressor is at so that you know if you need to turn it on or not.
You should keep the compressor off unless you’re using it actively. That way, you’ll cut down on the number of times it’s recycling and refilling itself for no reason.
The regulator should be mounted somewhere on a wall where you can easily and quickly control the central air pressure. You will need to set a connection to which the regulator will connect and hang it up in the garage.
You can have several airlines inside the garage, depending on how many you need for your work. For example, you can have one on the side of the garage attached to a reel and another one down on the right-hand side of your workspace, so you have an airline close to you. Finally, you can have a dedicated airline going all the way to your inverter.
6. Mount the Regulator
Mounting the regulator is super simple. If you have everything ready, setting it up should take you no longer than half an hour.
The regulator will likely have a three-stage dryer and regulator system with one master valve to run everything. You will have a simple cobalt pipe and a valve for turning it on and off below. You will also have a hose running from a quick connection straight to a press.
Most likely, you’ll need to have the lines running across your garage. For that reason, you should have a straight, 90-degree fitting from which the line would shoot straight up across the wall. It could hit another 90 degrees from the top to wrap around the border of the garage.
If you don’t want to use a 90-degree fitting, you can do a slight sloping bend instead of using a hard fitting. Just make sure to keep the whole center section of the garage free of any lines so that they don’t interfere with your work.
One idea is to drop a line down to a hose reel, which you can mount on one side of the garage.
Since it’s up to you where to drop the lines, you might want to do that close to the area where you need to power pneumatic tools or where your welding table is. Another drop could run a dedicated line to an inverter. That’s going to allow you to immediately turn on and use the device without having to wait or find an extra hose.
Key Takeaways
While it may take a bit of doing for a novice DIYer, safely storing your air compressor outside is a relatively easy task. All you need to do is follow the steps above, and you’ll be done in no time!
Sources
- International Association of Certified Home Inspectors: Rust Inspection and Prevention
- Understand Building Construction: Plywood as a Construction Material
- Rolling Stone: The Best Acoustic Panels and Tiles for Sound Dampening
- Quincy Compressor: How to Prevent an Air Compressor from Overheating
- UCOP: Compressed Air and Gas Safety
- Water Safe: How do I turn the water off to carry out work in my property?
- Eastwood: Can You Put Your Air Compressor Outside?