It’s normal for decks to fade, look bleached, and worn over time, especially due to agents such as sun and rain. To get rid of the unsightly fade marks, you’ll need to sand your deck carefully with the right grit sandpaper. If you’re the type that fancies DIY projects, then it’s necessary to observe some crucial steps to sand your deck successfully.
When sanding a deck, the first step should be an inspection. Check for protruding screws or nails, loose fastenings, and rotten wood. Once you’ve made repairs, you should wash the deck and allow it to dry. Afterward, use a sander to sand the deck and the edges before cleaning and applying a finish.
Are you interested in learning how to sand your deck successfully? Then, you couldn’t be in a better place. Read on for a complete guide on the dos and don’ts of DIY deck sanding.
Prepare the Deck
When working on a DIY floor sanding project, you should always start by preparing the floor. This should be no different when working on your deck. Start by inspecting the entire deck from the upper surface to the edges.
Be on the lookout for protruding screws and nails as these can easily shred your sandpaper. In case you spot a couple of protruding nails, be sure to hit and countersink them such that they’re even with your deck flooring.
The best time to make deck repairs is also during the preparation stage.
Therefore, inspect the deck flooring thoroughly for rotten wood and rusted metal components. Don’t hesitate to replace a couple of planks if they’re rotten or destroyed. The idea is to have the deck as structurally sound as possible before getting started with the sanding.
Clean the Deck
After you’re done making the necessary repairs, it’s time to give your deck a thorough cleaning. Ideally, you should use cleaning solutions that suit the type of wood used in your deck. Some of the materials you’ll need include a bucket, cleaning solution, a brush (with an extension pole).
To protect your deck’s structural integrity, it’s best to use oxygen bleach as opposed to chlorine bleach, which is known to compromise wood strength over time.
High-quality wood cleaners like the Rust-Oleum Deckbrite Cleaner should help you remove stubborn stains and soften the wood for sanding. Since removing deck stains can prove difficult, having a firm brush like KingOrigin’s Deck Stain Brush will help you get the stain-removal job done.
Be sure to scrub with the grain as you apply extra pressure to remove mildew, dirt, and stains.
For large deck surfaces, it’s best to mix and divide the cleaning solution into multiple batches since its concentration should remain consistent throughout. Using a pressure or power washer will help remove dirt and debris, leaving your deck neat and ready for sanding.

Choose Your Preferred Sander
There are several sanders to choose from, but for sanding decks, it’s advisable to use large sanders to reduce the workload. Below are some of the sanders you can use to sand your deck.
Belt Sander
Also known as a strip sander, a belt sander is ideal for removing stubborn stains, finishes, and paints from wood.
Once fitted with sandpaper, a belt sander can smoothen an initially rough surface. Belt sanders are commonly used in the first round of sanding and are ideal for large decks.
Drum Sander
A drum sander can help you remove the most stubborn stains and paint remnants.
However, due to the drum sander’s overall power, you’ll need to be extra careful when using it on your deck. This bad boy can create irreparable grooves and damage your floor if used incorrectly.
So, in case you prefer starting the sanding process with this device, it’s best to use it with caution.
Orbital Sander

Orbital sanders are commonly used in decking projects due to their ease of use. Even better, an orbital sander is known to provide gentle sanding treatment, meaning you won’t risk ruining your deck.
When using orbital sanders, the trick is to start with coarse grits as you ease into the fine grit sandpapers.
Random Orbit Sander
This tool is ideal for projects that don’t require a strict grain pattern. Compared to an orbital sander, a random orbit sander has more power and can remove more stains and paint.
Advanced random orbit sanders come with variable-speed settings to increase flexibility and efficiency when sanding. However, random orbit sanders cannot get in corners due to their round sanding surface, meaning you’ll need other sanders to tackle the hard to reach areas.
Detail Sander
Although not practical for the preliminary stages of sanding a deck, this handy device is perfect for targeting corners and crevices. As a result, it is often used on the more intricate deck areas where other sanders cannot access.
Ideally, the sander you choose should depend on the size of your deck. Large sanders like drum and belt sanders are ideal for large decks due to their surface area. Either way, you might find yourself switching between sanders as you continue with the project.
Determine the Right Grit Sequence for Your Deck
For a properly refinished deck, you’ll need to sand your floor several times. The trick is to transition to finer grits as you progress in your deck sanding project. As a rule of thumb, excessively stained hardwood surfaces need coarse grit sandpapers.
Below is a brief guideline on what to expect from the various grits.
- Extra coarse sandpaper: This type of sandpaper is ideal for deep sanding projects with a lot of stains, surface roughness, and dirt buildup. This grit is ideal for sanding old deck floors, especially if you haven’t sanded for years.
- Coarse sandpaper: This sandpaper is coarse enough to shape wood and remove previous finishes. It works well when used on both hardwood and softwood floors. However, extra care needs to be taken when used with drum sanders as its coarseness can damage the floors.
- Medium sandpaper: Medium grit sandpaper is ideal for removing stains, mold, and mildew and can also shape materials. Some deck refinishing projects usually start with this grit, especially for frequently sanded decks.
- Fine sandpaper: This type of sandpaper is ideal for final sanding right before the project is completed. It leaves the surface neat and soft enough, thus preparing it for the finish.
- Extra fine sandpaper: Chances are you won’t get to use this sandpaper in your deck sanding project. However, you can still use these soft grit sandpapers to polish your deck and make the surface even smoother.
When sanding your deck, you’ll need to start with the coarse sandpaper grits as you transition to the finer grits. Doing so will give your deck a fine, smooth finish.
Start the Sanding Process
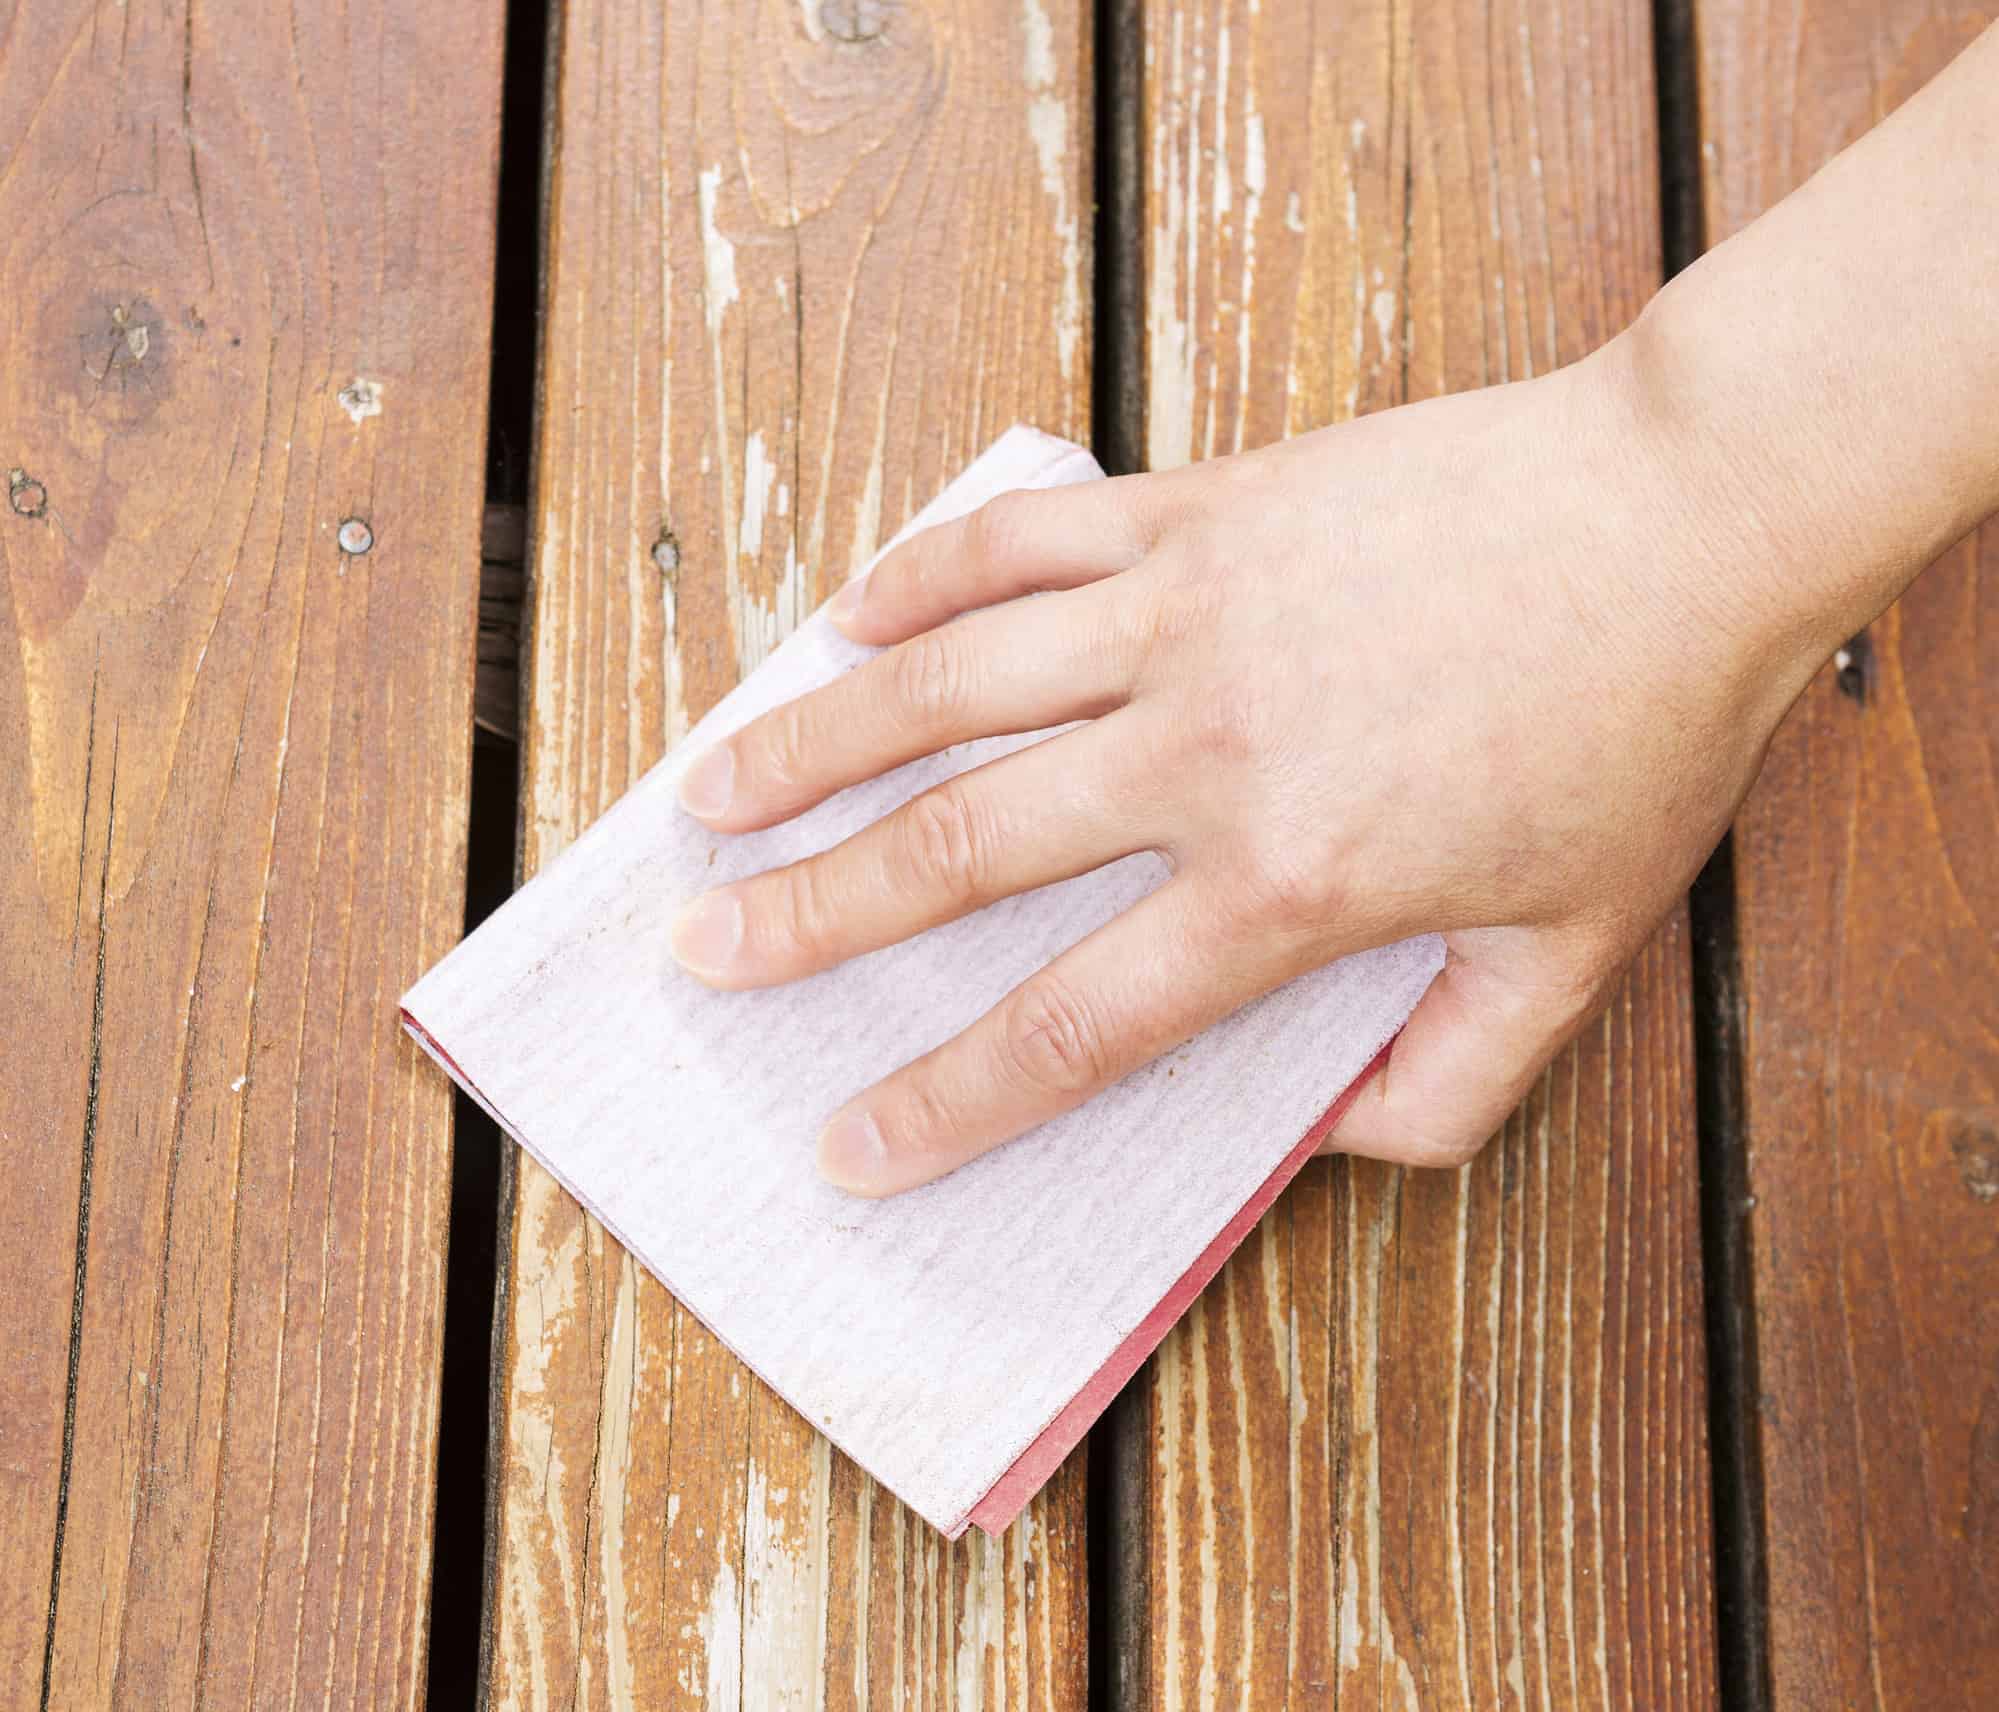
After carefully observing your deck floor, you should be well-placed to know the correct type of sandpaper to start sanding with. Therefore, once you attach the sandpaper (high-grit), be sure to move it in straight, well-balanced strokes along the grain.
If you’re using a drum sander, take extra care when using coarse grit sandpapers, as they can easily damage the wood. You also shouldn’t be in too much of a hurry to change to high grit sandpaper before you’re done sanding all the areas your sander can access.
Ideally, you should move to higher grit sandpapers once you’re content with the output of the lower grits. As you switch to higher grit sandpapers, ensure you sand the entire decking surface uniformly, paying extra attention to the hard-to-reach areas.
For improved outcomes, dividing the decking space into different sections is highly recommended.
This will allow you to focus on each section independently, thus increasing the chances of uniform sanding. Therefore, try as much as possible to avoid tackling the deck area as a whole, at least if you want to have a uniformly refinished deck.
Another important tip to observe when sanding a deck is conducting a practice run in the areas designated for decking furniture. Attach the sandpaper to your preferred sander and try sanding to see if the combination works. Luckily, if you end up making a mistake or opting for higher grit sandpaper, you can easily hide the unsightly marks with deck furniture.
Switch to a Different Type of Sander
Of course, large sanders like drum, belt, and even orbital sanders will work on straight surfaces well enough. However, the issue arises when you start getting too close to the walls and start risking damaging the baseboards or even the sander.
Once you experience difficulties with the upright sander, then it’s time to give it a rest and switch to other more convenient types of sanders.
A palm sander or an electric edge sander can help get the job done in tight spots. As you switch the sanders, be sure to use the same grit sandpaper as the other sanded areas to ensure the deck flooring remains uniform.
After sanding with high-grit sandpaper, you should clean up the dust to avoid the buildup that would otherwise limit the success of the sanding process.
In fact, you should clean up whenever you transition between low and high grit sandpaper. Regular cleaning whenever you switch sandpapers allows for a smooth, uniform surface.
Inspect the Sanding
Whether it’s your first time sanding a deck or you’ve got tons of experience, it’s crucial to take a break and inspect the overall sanding job once you’re done. Examining the floors will allow you to know whether you’ll need to sand some areas further to achieve a uniform look.
When inspecting the decking floor, pay extra attention to the edges, especially in areas where you used different sanders. In case you observe any flaws, be sure to use the right type of sandpaper to make relevant corrections.
Clean Up Thoroughly
Granted, sanding is the hardest part of the DIY deck refinishing project. However, for your efforts to bear fruits, you’ll need to treat light tasks like cleaning up with the seriousness required. This is because you’ll have an unsightly, non-uniform layer if you apply your finish before removing the piled-up dust and debris.
Therefore, on top of cleaning up whenever you change the sandpaper grit value, you should also clean the wood once you’re completely done with the sanding process. Cleaning up regularly ensures the deck wood remains clean and well-prepared to accept your paint or stain.
Stain or Oil the Deck
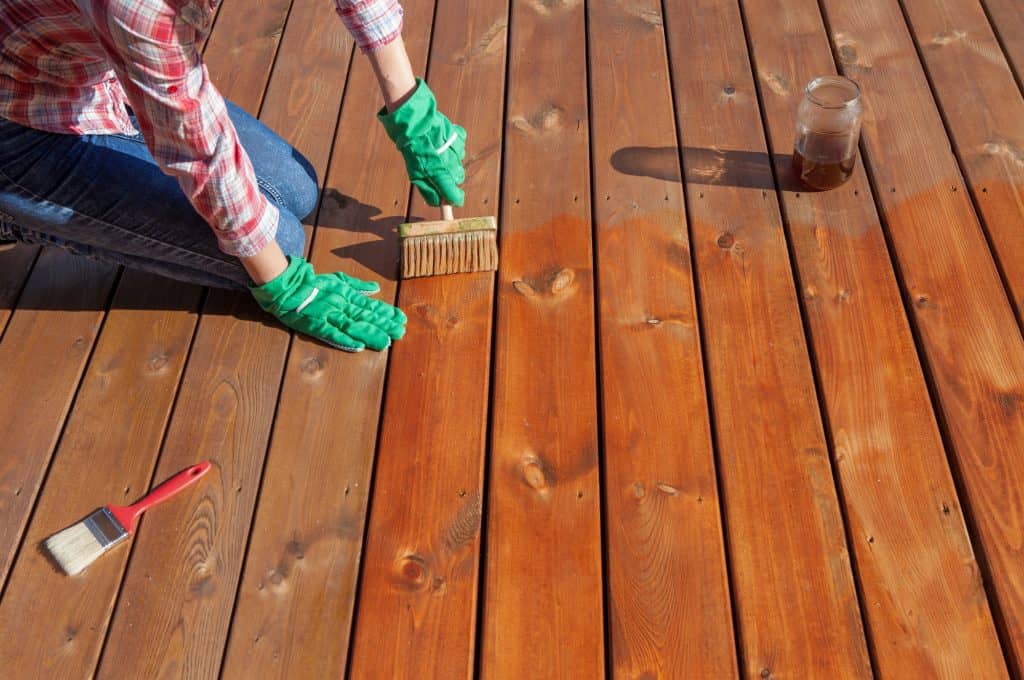
Staining the deck is a great way to enhance your deck’s resistance to elements like sunlight, rainfall, and the occasional spills. As a result, it is important to stain your deck once it’s clean and dry.
While there is no best type of stain, the type of wood used in your deck should determine your paint or staining choices. In general, however, opaque stains have better weather and wear-resistant abilities compared to lighter finishes.
On the other hand, lighter finishes are ideal for aesthetics as they allow the wood’s natural grain to show.
Granted, the deck boards should be clean and dry before you apply the stain. However, it’s crucial to check the weather patterns as sanding on a rainy day is not a good idea. Try as much as possible to avoid staining in direct sunlight since it can lead to uneven color and brush marks due to quick drying.
You might have to apply painter’s tape to nearby surfaces like sidings to protect them from the stain. Using a natural bristle brush to apply the deck stain is highly recommended. While a roller might help to apply stain faster across a larger surface area, brushing is more effective in forcing the stain into pores and open grain.
Advantages of Decking Stain
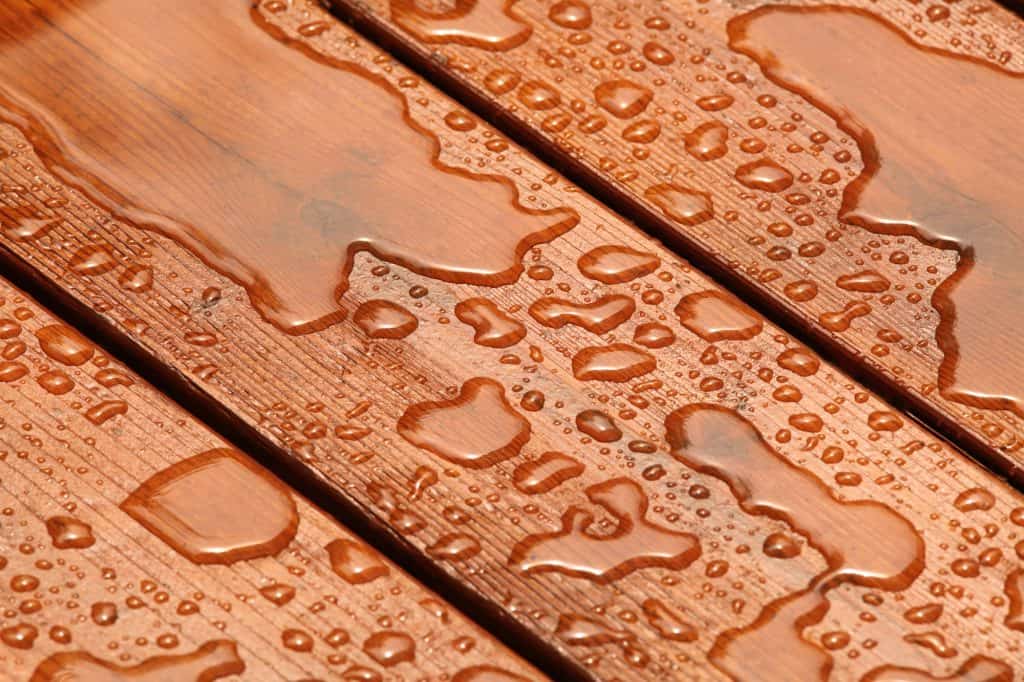
- Decking stains help seal the deck with a plastic-like layer or film. The seal makes the decking timbers more resistant to weathering and gradual wear due to foot traffic.
- The color pigment in stains reduces the overall exposure to UV light, thus protecting the decking timbers from UV-related greying effects.
- Decking stains like the DEFY Extreme Exterior Wood Stain enhance the overall beauty of the deck. High-quality stains often look great on decking accessories like spindles and handrails.
- Decking stains also help prevent the formation of algae and mold on the deck’s surface.
Applying decking oil is an alternative to using decking stains. Since decking oils are available in clear and colored formulations, they can be used to enhance the durability and beauty of deck timbers. Decking oils have high wax and oil concentrations, which help to make the deck surface resistant to dirt ingress and water.
Advantages of Oiling a Deck
- Many decking oils contain UV filters that help slow down the harmful effects of UV light on timber. For enhanced protection, it is advisable to settle for decking oils that are darker colored.
- Decking oils are easy to apply, maintain, and clean. With decking oils, you won’t need to strip to bare wood when looking to apply a maintenance or replenishing top coat.
- Decking oils don’t crack, flake, blister, or peel, making them ideal for decks.
- Decking oils allow for improved grip since they don’t have a plastic-like film similar to stains. This allows you to make the most of timber’s naturally uneven texture.
When applying stains or oils, try to split the entire deck floor into different regions. Repeat the same applying procedure on all sections until you achieve a neat, uniform layer.
Allow the Deck to Dry
Although most people take this step lightly, allowing the deck stain or oil to dry is integral to your refinishing project’s success. The time taken for the stains or oil to dry depends on several factors—on top of the list is the type of decking timber used. You should also check on the manufacturer’s recommendations to determine the ideal drying time.
Other factors that affect the drying time of a deck include humidity and temperature. But to be on the safe side, it’s highly advisable to give the deck around 24-48 hours to dry. If the weather’s a bit gloomy, don’t hesitate to take more time before returning deck furniture to avoid chipping the coatings.
Wrapping Up
Sanding your deck is necessary if you want it to look neat and new despite being in use for several years. Ideally, you should sand your deck every two to three years (depending on your location).
To get started, you’ll first need to prepare the deck by making necessary repairs and cleaning up. Once the surface is ready, pick a coarse enough sandpaper and start working the surfaces. Remember to clean up the dust whenever you switch to high grit sandpaper.
Finally, you’ll need to apply a high-quality finish and allow it enough time to dry.
Sources
- Record Online: Sanding a deck: A step-by-step guide
- The Spruce: Tips for Sanding a Wood Deck Before Refinishing
- HiPages: How Deck Sanding Can Bring Your Deck Back To Life
- Fine Homebuilding: What’s the Difference: Fine-Finish Sanders: Orbital vs. Random Orbit
- Bob Vila: Finishing Sanders
- Pete’s Hardwood Floors: Sanding a wood floor is a multi-step process.
- Updweller: Best Sanders for Deck Refinishing: How To Find The Right One
- DIY Network: How to Stain a Deck: What You Should Know
- True Value Projects: Refinishing Hardwood Floors
- Norton Abrasives: Sanding 101