You’re tired of mowing, pesticides, watering, and outdoor maintenance. You’ve been thinking about replacing your old lawn with artificial grass, but your budget is tight. So what’s the cheapest way to install artificial grass?
The cheapest way to install artificial grass is by buying your own materials and doing your own installation. However, be aware of the hazards of cutting corners — badly installed artificial grass can lead to drainage issues, aesthetic problems, and may ultimately require a costly replacement and reinstallation.
If you can put in a little sweat equity, this article could save you a good deal of money. I’ve also included pointers on finding the most reasonably priced materials for your needs. Read on, and soon you can be enjoying the benefits of an affordable artificial grass lawn.
How To Install Artificial Grass
Here’s how you can install artificial grass:
Check for Electrical Wires and Sprinklers
Before you start clearing the way for your new artificial grass lawn, make sure there are no power lines, fiber optic cables, or other important wires buried there. Also, check your irrigation system to make certain you’ve capped off or removed any sprinkler heads. This step will save you further repair costs and – God forbid – hospital bills.
Excavate the Old Grass
Before you start laying down artificial grass, you must clear the area of the old turf, soil, and vegetation. Most often, this will require excavating around 3-4 inches (7.6 – 10.1 cm).
You start by lifting the sod to expose bare dirt. A sod lifter like the Bully 12 Gauge Sod Lifter (available at Amazon.com) will be sufficient for clearing a smaller space. The sharp steel edge cuts beneath the root systems and lets you remove clods efficiently.
If you’re laying artificial grass over a large area, you may want to rent a sod cutter machine.
This video from lawn equipment manufacturer Classen shows you a sod cutter machine in use:
When you’ve cleared the area to bare, firm dirt and removed any rocks or stray tree roots, you can remove the sod. If you have a big job, renting a dumpster may be advisable.
Compact the Ground
Rolling over the bare soil with a ground roller will help level the surface and avoid a bumpy or uneven installation. But for best results, you should rent a compaction force plate compactor. Paving contractors use plate compactors to prepare a surface for asphalt or concrete.
A ground roller filled with sand may compact the surface with 300 pounds (135 kg) of weight. A plate compactor strikes the ground with 1,500 – 4,500 lbs. (675 – 2,250 kg) force, ensuring a level foundation and a smooth finished product.
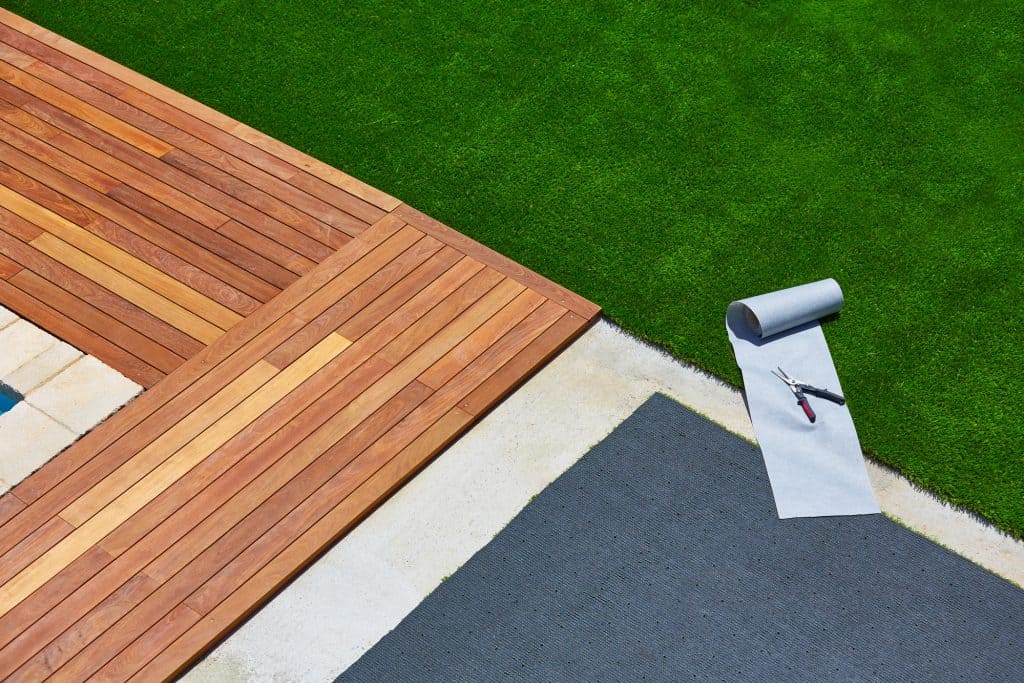
Put Down a Perimeter
To keep the base compacted and ensure the grass stays firmly in place, you need to install a solid edge on all sides. You can use blocks, bricks, wood, metal, or synthetic polyboard to create that boundary.
Pressure-treated timber is a common choice for artificial grass installers. It works well with gardens and has a lifespan of over ten years. While plastic lumber is a bit more expensive, it has an estimated lifespan of more than two decades. Given the hassle of replacement, I recommend using plastic lumber.
A perimeter border will keep the base in position. Without the border, your subbase will slip away, leading to dips and lumps in your artificial grass that may require reinstallation. A perimeter border also holds your artificial grass in place.
You can use the foundation of your house as a solid edge. If your grass abuts a driveway or sidewalk, you may want to install a bendable landscaping border like Dimex EasyFlex Landscape Edging (available at Amazon.com). This edging is easy to install, bends around curved surfaces, and is an excellent option for do-it-yourselfers.
Before putting down the perimeter, use a hand trowel like the Edwards Stainless Steel Garden Trowel (available at Amazon.com) to remove all roots near the perimeter board. You may also want to apply a herbicide like Spectracide Weed and Grass Killer (available at Amazon.com) to discourage roots from growing under the perimeter.
Install a Weed Cloth
Now that you have your ground prepared, you should install a weed cloth. A weed cloth (also called a weed fabric barrier or a driveway cloth) is a thick but porous sheet of polypropylene or plastic that allows for drainage but doesn’t allow shoots or roots to pass through it.
Weed cloth also helps keep your subbase separate from the soil beneath. This means there is less chance of your subbase sagging or breaking down under regular use.
Some installers place the weed cloth atop the subbase, then lay the artificial grass on it. This isn’t advised in homes with pets or areas where you’ll regularly have animals like deer or raccoons walking atop your lawn. Urine can soak into the weed cloth and produce a strong, noxious odor.
You can use this Amagabeli Heavy Duty Landscape Fabric (available at Amazon.com), which is designed for landscaping and paving projects. Put this down beneath your artificial turf, and you’ll be safe from any stray weeds breaking between your turf seams or damaging your new lawn.
Lay Down a Subbase
Soil expands when it gets wet and contracts when it dries. If you lay your artificial grass atop your compacted soil within a season or two, you’ll see wrinkles and unevenness in your lawn. Artificial grass installers cover the ground with a non-expansive subbase to prevent these issues.
Many artificial grass subbases use decomposed granite, which is weathered granite that has become softer and flakier due to chemical decomposition. It can be crumbled into smaller particles easily. The decomposed granite used for artificial grass is a mix of fine granite powder and granite pieces.
Decomposed granite produces a smooth, firm surface. Golf course designers use it to ensure their putting greens are level and have good ball action. While you can use any concrete and ¾-inch (1.9-cm) fine gravel mixture for the lower layers of your subbase, a layer of decomposed granite atop your subbase is recommended.
Apply your subbase in 2-inch (5.08-cm) layers. Lightly wet each layer, then tamp it down. For this step, a compaction plate compactor isn’t optional. You may be able to use a hand tamper for very small installations or get into tricky corners, but for a lasting installation, you’ll need to rent or purchase the proper equipment.
Make sure that your substrate is laid at a 2° angle away from your house. If the substrate slopes toward your home, you may wind up with drainage issues and basement flooding.
If your lawn already has drainage issues, you may want to consider a professional installation with a contractor who can install runoff measures.
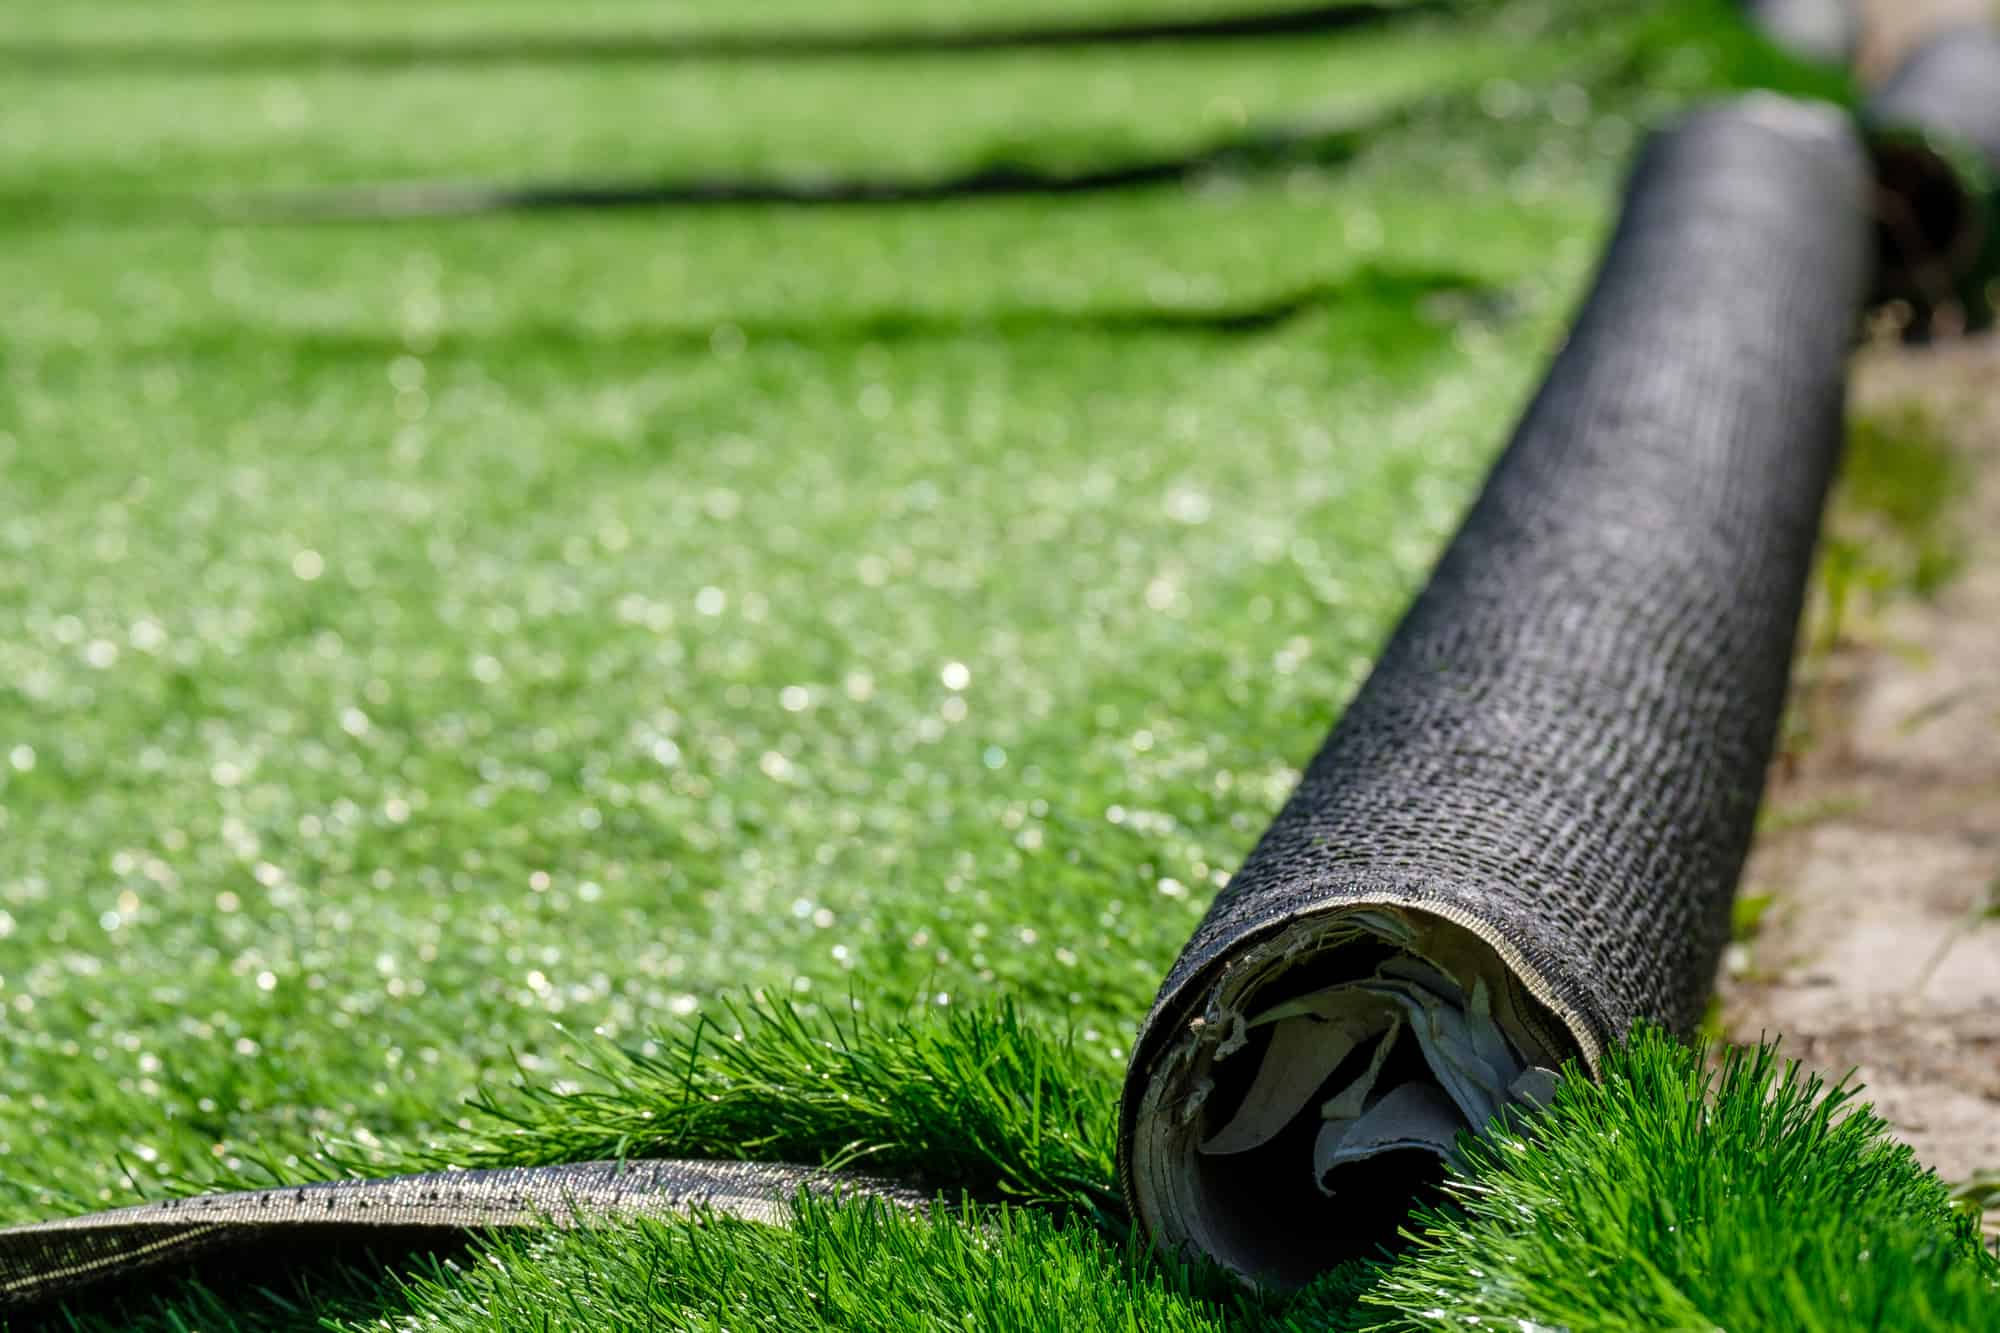
Measure and Cut Turf
Before measuring and cutting your turf, unroll it and leave it in the sun for an hour or two. This will warm the backing and straighten the blades, making your work easier. It’ll also give you a chance to inspect the material for any defects before you start cutting.
Now follow these steps:
- Position your turf so the grain faces in the same direction.
- Cut to fit the perimeter’s general shape, but with a few inches of extra material in case of error.
- Use 5-inch (12.7-cm) non-galvanized nails placed 6 inches (15.2 cm) apart and 1 inch (2.5 cm) from the perimeter to anchor the turf.
You must make sure that your turf is tautly installed. A carpet kicker like the Roberts Carpet Knee Kicker (available at Amazon.com) will ensure your artificial grass lies flat. Professional carpet installers use carpet kickers to make sure their wall-to-wall installations are smooth, and artificial grass is an outdoor carpet.
As you’ve kicked and stretched your turf out from the anchoring nails, affix it to the substrate with nails in a grid pattern. You can lay your turf inline (parallel to the stitch rows) or butt-seamed (perpendicular to the stitch row).
Seam the Turf
To seam inline:
- Peel back and cut the backing material along the parallel edge of the outermost stitch row.
- Do the same with the conjoining piece.
- When you are finished, place nails approximately every 6 inches (15.2 cm) on each side to hold them in place.
To lay down butt seams, line up conjoining pieces, taking care they line up perfectly without a gap. (If the original cuts were not straight, you might need to retrim them here). There should be no visible lines, and the grass should all be pointing in the same direction.
Your installation may also well require both inline and butt seams. The line along which the parallel and perpendicular lines meet is called a T-seam.
You can seam with 5-inch (12.7-cm) nails alone, but if you want a long-lasting lawn, you’ll need to use a combination of seaming tape with nails and seaming glue. This will take more time and require more effort on your part, but you’ll save a lot of heartache and repairs in the long run.
To seam with tape and glue, follow these steps:
- Peel the turf back again and hold it open with a few nails.
- Lay the seaming tape inside the gap, then nail each end to keep it down.
- Drizzle your seaming glue down the center, then lightly spread it along the surface of the tape.
- Let the glue sit for 10-20 minutes, depending on humidity, until it gets tacky.
- Unpin the pieces and press them down onto the tape until the glue adheres.
It would help if you reapplied a nail every 3 to 6 inches (7.6 – 15.2 cm) to hold the seams down for at least 24 hours to give the glue a chance to cure.
This 100 m (325 ft.) roll of All Turf Seaming Tape (available at Amazon.com) will work fabulously for home installations of artificial grass. Throw a couple of gallons of Roberts Indoor/Outdoor Carpet Adhesive in your shopping cart with your tape, and you’ll be well on your way to seaming your artificial turf.
Secure the Perimeter
Don’t start perimeter cuts until all seaming is completed. If you make a seaming mistake, your turf may no longer fit properly. And because precision is very important when securing the perimeter, there’s little margin for error.
Here are the steps to secure the perimeter:
- Go along the edge of your installation and carefully cut the material to the precise perimeter line.
- Make small cuts and regularly check to ensure your artificial grass is where you want it to be, and your cuts are even.
- Use 5-inch (12.7-cm) non-galvanized nails spaced 2 to 4 inches (5-10 cm) apart to affix the turf firmly in place.
Add Infill
Infill can protect the turf’s backing from UV exposure and increase its fire rating. It also adds weight that’ll help keep your turf from buckling due to temperature changes. And infill also helps support the fibers against becoming matted and worn down with usage.
You can use silica sand as an infill. Most lawns are relatively lightly trafficked and need only about 1 lb. (0.45 kg) of #16 silica sand per square foot. Green silica sand is a less visible infill and is popular with many artificial grass installers.
If you have pets, you might want to infill your artificial grass with zeolite, which holds ammonia and reduces the odor of pet urine. It’s commonly found in litter boxes and will help keep your new artificial lawn from getting that not-so-fresh smell.
ZeoFill Pet Odor Infill is made by one of the world’s leading companies specializing in odor control. And the Scotts Turf Builder will ensure an even infill distribution. Both can be found on Amazon.com.
Conclusion
Installing an artificial grass lawn is no easy task, and it’s not cheap. But if you have a bit of landscaping skill or are willing to learn, you can save a good bit of money by doing the work yourself.
I urge you to weigh your handyman capabilities carefully. Make sure you’re up for manual labor and that you can do the installation right. If not, hiring a professional contractor might cost more now but save you a lot of expense and aggravation later.