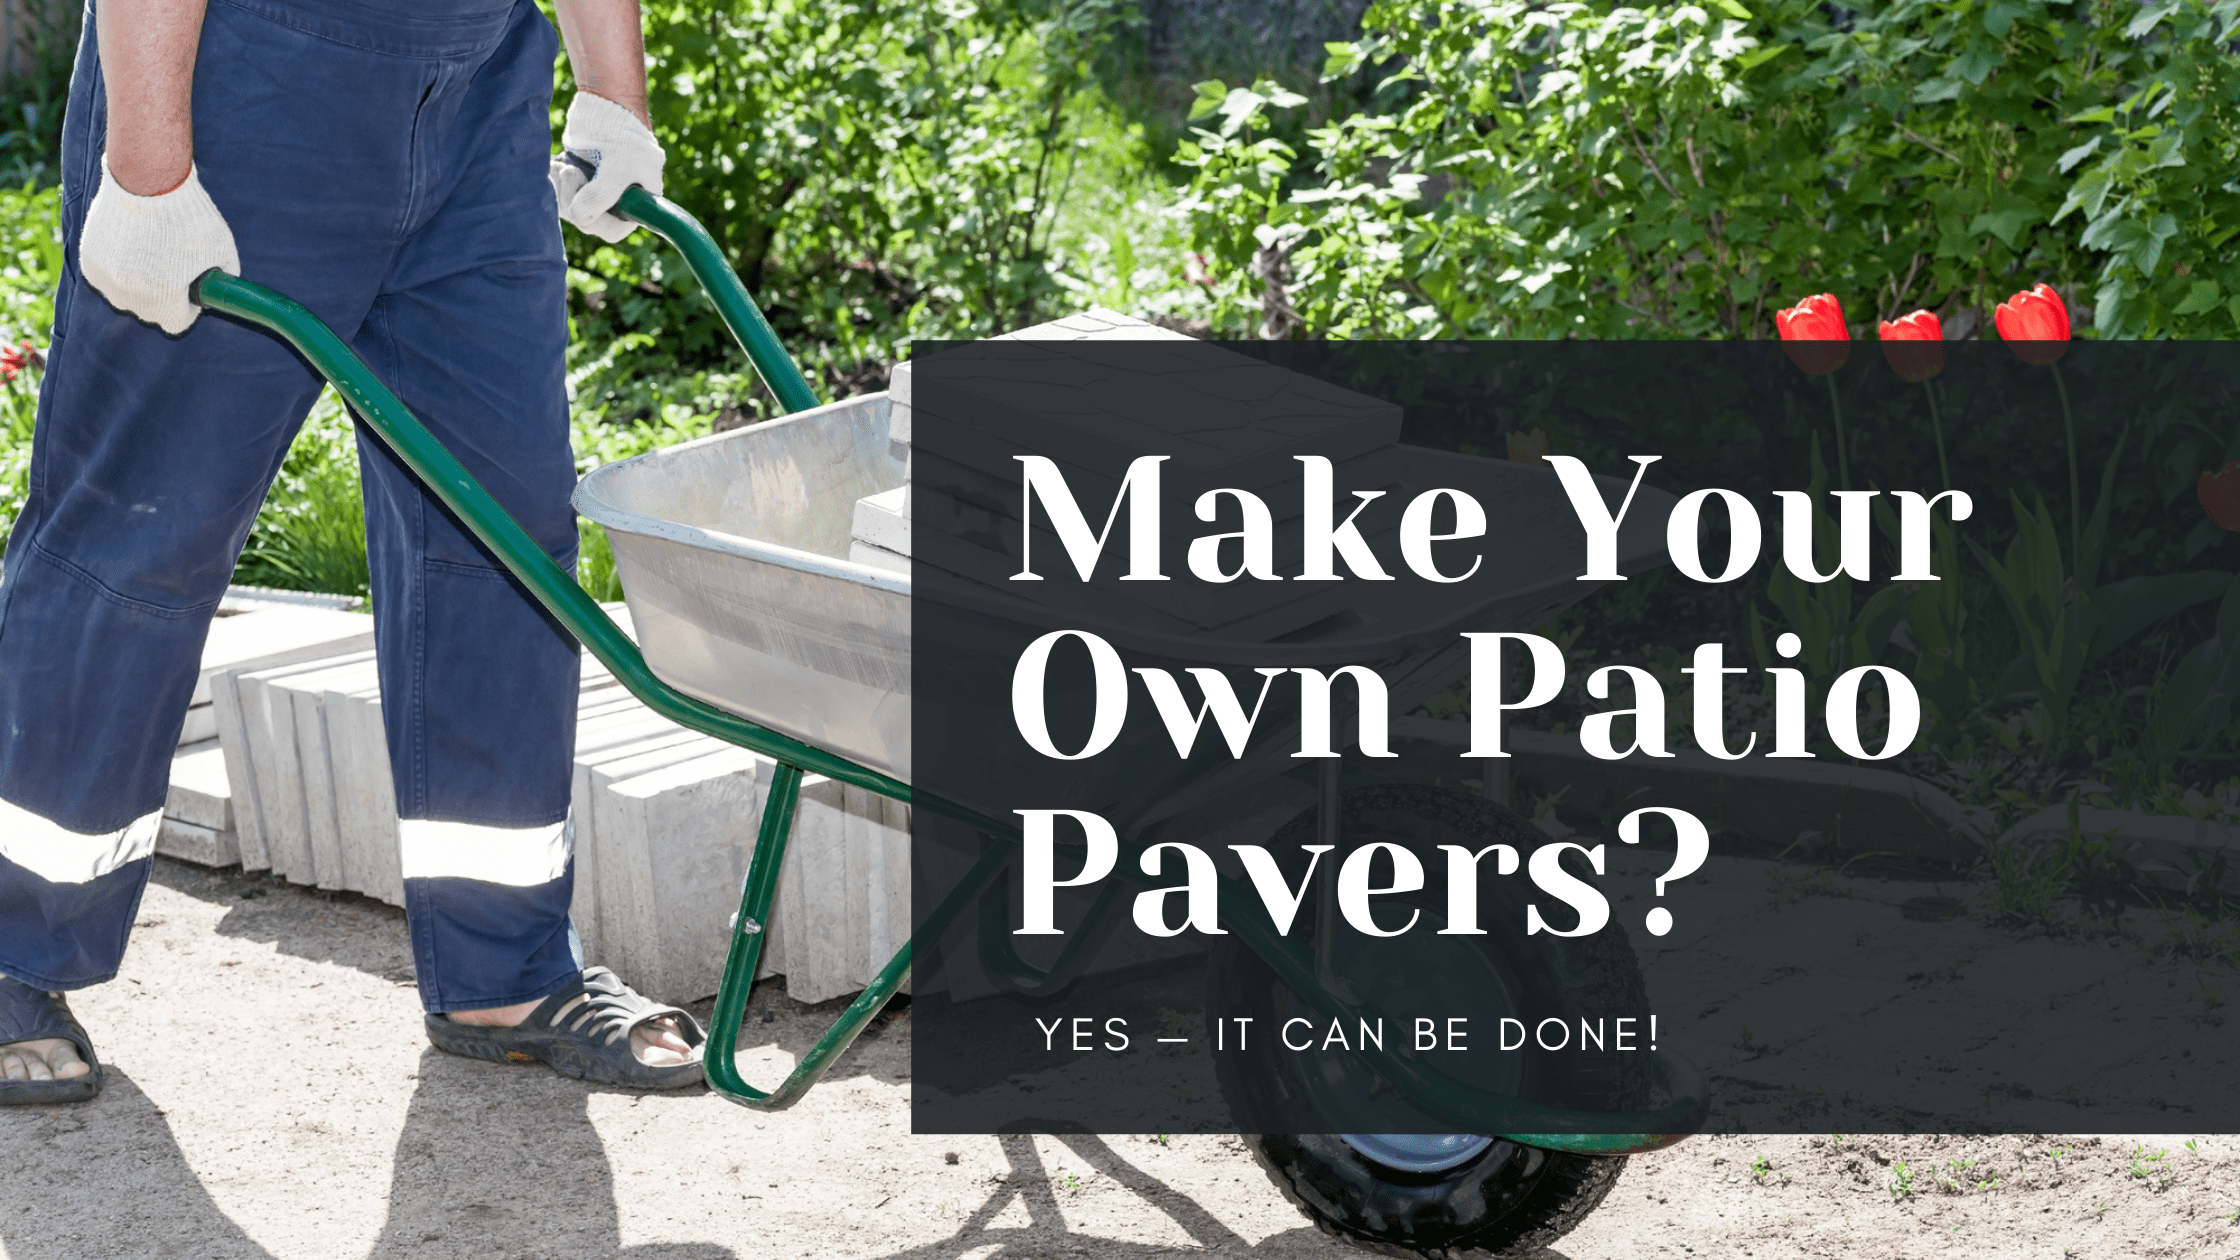
DIYing patio pavers is a simple method to create a nice-looking yard, driveway, or pathway. It’s possible to construct pavers on your own, but it can be a pretty labor-intensive task and takes a while to do right. Nevertheless, you’re here to learn how to make your pavers, and I’m here to teach you how.
To make homemade patio pavers, start by determining which size you need and whether it’d be easier and cheaper to make or buy them. If you decide to DIY, gather your tools, plan your paver, make your mold, and pour your concrete. Remember to be precise while measuring and pouring for your molds.
This article will tell you everything you need to know about making your own DIY pavers. However, it’s important to know what you’re getting into before starting any project. With that in mind, we’ll also compare homemade pavers to store-bought ones to see if DIY is the way you want to go.
How Do You Make Pavers?
If you’re serious about DIYing your own pavers, there are certain steps you’ll need to take.
There are three ways to make patio pavers: For smaller pavers, your mold can be a deep baking pan. Simply spray them with non-stick cooking spray, then pour in your concrete mixture. With medium and large pavers, clear and level the ground, construct or dig your molds, and pour the concrete.
We’ll discuss each step for small, medium, and large pavers as we go. For example, I’ll talk about making molds for each type of paver and move on to the next step.
Gather Your Tools
The major tools you’ll need to get started on your outdoor project are molds and concrete. The mold materials may vary wildly depending on what material and shape. If the molds are on the oddly shaped side, you’ll have to find a malleable substance like vinyl.
Medium or large molds can be constructed with wood. If you’re doing small pavers, tin pans, or deep baking trays will do the trick.
Plan Your Paver
Designing pavers will be relatively the same for each type. Essentially, you’re deciding how you want your final result to look. With the smaller pavers, it’s easy to go as extravagant as you like, glass, crazy designs, whatever. However, for medium and large pavers, low-key styles may be preferable.
The larger the paver, the more money, material, and time you’ll put into it. If you want color, you can add it or purchase colored concrete.
Make Your Mold
For medium or big molds, start by making off the project area dimensions. If there’s grass, you’re going to have to remove it so the pavers can lay flat. For medium to large and oddly-shaped pavers, you’ll need to dig seven inches (17.78 cm) into the ground with a shovel.
The first two to four inches (5.08 to 10.16 cm) are for the underlayment, and the next one to two inches (2.54 to 5.08 cm) are for paver sand, which helps keep your slabs level. After laying these layers, add your edge restraints so the pavers are stable and don’t move or settle too far into the ground.
Your edges should be sloping away from other structures and set 1 ¾ (4.44) inch every 12 feet (144 inches) so water can drain out. Once that’s done, evenly spread your gravel (pebble-sized). You can use a flat piece of wood to smooth and compact it. Now you can disperse and level the sand.
Vinyl is a good choice for odd-shaped concrete pavers. It’s a material you can easily shape to your preferences. First, design your shape with the vinyl. You do this by taking a strip, connecting the ends with tape, and bending it into your desired shape. Then follow the steps above to prep the ground.
We’ve already mentioned cake pans for smaller molds, but you’ll still need to measure and dig out where you’re putting them.
Pour Your Concrete
Here are the steps for making smaller pavers:
- Blend premixed concrete with water until it’s thick and sludgy.
- If you’re using pan molds, coat them with non-stick spray and begin pouring from the middle.
- Tamp extra moisture away with a paper towel.
- Decorate the mold.
The first thing you need for the bigger pavers is a wheelbarrow. Then, follow these steps:
- Blend premixed concrete with water until it’s thick and sludgy.
- Wet the area with a hose.
- Pour the mixture from the wheelbarrow.
- After you’ve filled the molds, screed the top with a piece of wood. Screed the top with a portion of wood to level the pavers and collect excess concrete.
- Take a trowel to finish tidying up your pavers.
Is Making Patio Pavers Easy?
Now that you know how to make your own DIY pavers, let’s talk about whether or not you’ll want to do it.
“Is building pavers easy?” is kind of a complicated question. The process can be relatively straightforward if all you want is a few bedazzled pavers. If you want something more complex, however, that’s going to take some effort.
Making pavers is as complicated as it needs it to be. First, you have to design the pavers. You can find things around the house to build molds or make your own, but producing several individual molds can take time. You should also factor in the money, maintenance, and time the project may take.
A lot of DIY work depends on experience, the ability to follow instructions, and your willingness and capability to get the job done.
Making vs. Buying Pavers
As I’ve already mentioned above, you’ll need various types of molds (cake pans, vinyl, wood, etc.) and concrete to make pavers.
Concrete is cheap-ish. It’s not the least expensive material, but it’s not as much as natural stone either. Interestingly, premade pavers can get rather pricey because of the effort it takes to make them.
Manufactured pavers typically run from $5 to $15 per square foot, whereas concrete is about $3 to $5 per square foot. You get the malleability of concrete combined with the classy look of pavers.
Prefabricated pavers are naturally more durable, however. You won’t do much maintenance. Prefab pavers may need cleaning, but that’s about it if you or the contractor installed them correctly. Concrete cracks, shrinks, and wears over time, so you’ll have to shell out money for eventual repairs. For both options, make sure to seal them appropriately.
There’s also time and effort to think about. If you’re doing a small area of your yard, then you can probably get the job done in a weekend. If it’s a large area, expect the job to take a while. Precision is necessary when pouring concrete so that everything is level.
Technically, concrete never fully cures; it solidifies more as time passes. It takes about 24 to 48 hours for the material to harden enough to walk or drive on, though. After a month or so (28 days, give or take), the concrete is at its “maximum” strength.
Conclusion
Your first step should be considering if you’ve got the time and money to DIY patio pavers. Concrete is relatively cheap, but depending on the project’s scope, costs can add up quickly. Mixing and pouring concrete is also pretty laborious.
Plan the kind of pavers you want and the size of the area you’re installing them.
Once you’ve done that, measure and clear off the building site and make your molds. Finding molds for smaller pavers can be easy, while you may have to get creative with odd-shaped molds. Once you’ve done your prep work, mix and pour the concrete.
Sources
- Dictionary: Screed
- Wikipedia: Screed
- SFGate: How to Level Ground for Pavers
- Landscape Juice: How to Make Your Own Paving Stones
- Nitterhouse Masonry: Best Paver Material
- Unilock: What You Need to Know About Edge Restraints
- Wikihow: How to Make Pavers
- JS Brick Corporation: Is it Cheaper to Make Your Own Concrete Pavers?
- Artsy Pretty Plants: DIY Concrete Stepping Stones Shaped Like Natural Stone
- Peacock Pavers: Concrete Pavers Vs. Natural Stone
- The Spruce: How to Remove a Lawn from a Yard
- Install It Direct: Pavers Vs. Concrete: Comparing the Costs and Benefits