The pavers around your house add beauty to the external flooring outside of homes, but over time, they might get loose. This loosening often makes them look unsightly, uneven, and sometimes they’re completely knocked out of place, leaving a gaping hole in their wake. What, then, is the solution to keeping pavers in place?
Here are the steps you can follow to keep patio pavers from shifting:
- Inspect the pavers.
- Get rid of problematic brick.
- Take out the base and edge restraints.
- Fix a new base.
- Install new pavers.
- Select the right kind of edge restraints.
- Install a new edge restraint.
- Use spikes to secure the edges.
- Level the pavers.
- Seal the edges of the pavers.
This article provides steps to replace the damaged pavers and prevent them from dislodging in the future. Following these steps, your pavers will be smooth and sturdy in no time.
1. Inspect the Pavers
Before getting your tools out to work, examine the pavers first to know where the problem is so that you don’t go causing more harm than good.
Be on the lookout for pavers that are:
- Broken
- Old-looking
- Faded
- Uneven
It may be that the pavers protrude above or sit lower than the others. Mark out these faulty pavers with a stick of chalk or marker. While you’re at it, you can also remove the weeds growing between the pavers.
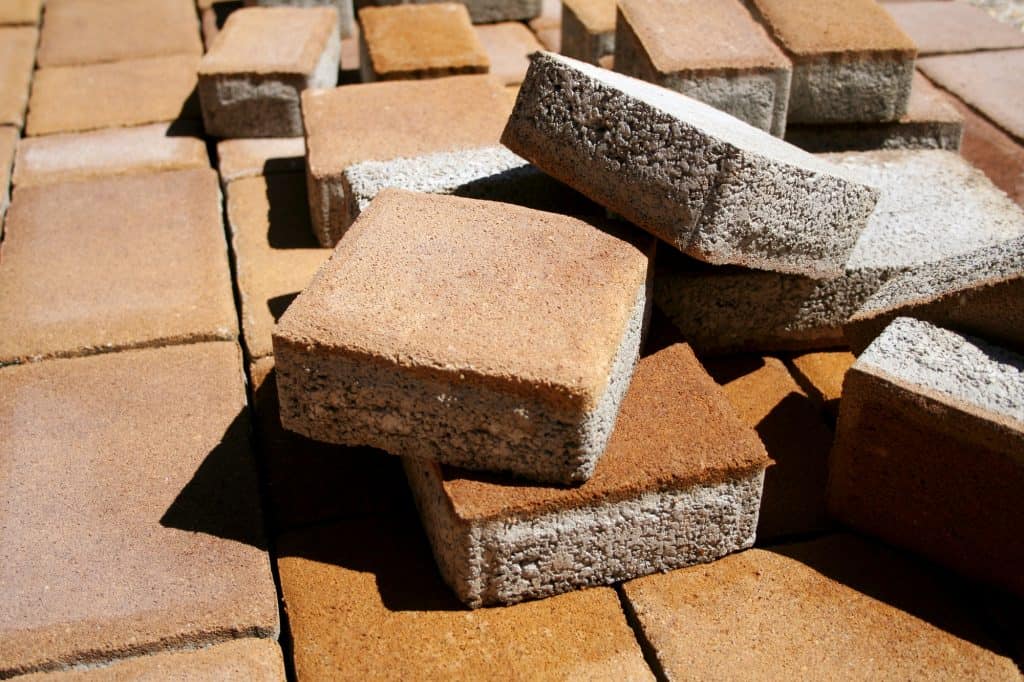
2. Get Rid of Problematic Pavers
Remove all the pavers you’ve marked off. But it wouldn’t be enough to target only the pavers that need fixing. A pro tip is to pull up the paving stones surrounding your problem area, preferably 16 inches (41.6 centimeters) around it. Taking out the surrounding stones will ensure the new base you’re installing matches the rest of the hardscape.
You place pavers in the soil during installation, and because sand gets incredibly hard when dry, you might need to aim a jet of water on the edges of the pavers you intend to remove. You’ll get most of the sand loose that way, and with the help of a small pry bar, you can remove the more difficult clods.
Having done that, pull out the problematic pavers. Keep going until they all have been removed.
3. Take Out the Base and Edge Restraints
The next step is to remove the base on which the pavers were laid. Use a trowel to scrape any sand out of the exposed bedding layer. It’s a good idea to leave a two-inch (5-centimeter) thick layer of bedding around the outside of your problem area, so you have a way of determining how thick your base should be.
The next thing you want to do is remove any edge restraints that surround the problem area using a hacksaw or some snap edge cutters.
4. Fix a New Base
Now it’s time to fix the base. If you need to remove a tree root under your base layer, this is your opportunity to get to work on it. Then some gravel can be removed or added depending on how much you need.
As soon as you’ve done that, tamp down the base so you can form a more secure and even foundation for your paver. After you’ve done that, spread concrete sand evenly all over it with a trowel to ensure an even 1-inch (2.5-centimeter) thick bedding layer.
5. Install New Pavers
Replace the pavers as though you were installing a new hardscape. When installing new pavers, you can have clean and tightly fitted joint lines if you scrape off all the excess sand from the edges of your problem area. It’s best to knock the stones together before laying them so that any debris clinging to them comes off.
The most common reason pavers shift is when the edging isn’t done correctly. If paver installation doesn’t have proper edging, your pavers may spread and sink over time, and in addition, you may see weed and moss growing between them.
If the pavers in your walkway or patio have become uneven or dislodged, the best thing to do is fix up the edging and either replace or put in new pavers.
6. Select the Right Kind of Edge Restraints
Problems can come from a poorly-installed edge restraint or one that was designed for a completely different use, making it more vital than ever to choose the correct edge restraint for your base. It would be best if you thought about your base while picking an edge restraint system.
When laying out a base, make sure it extends the same depth as the pavers. If your foundation is 6 inches (15 centimeters) deep, it should extend 6 inches (15 centimeters) beyond your pavers.
It’s also worth noting that only soft surfaces require the use of edge restraint which includes pavers against foundations, existing driveways, and any other firm surface that can hold the pavers.
7. Install a New Edge Restraint
You can now replace the old piece of edge restraint with a new one. Be sure to nail the edge restraint down so that it’s tightly fastened to the pavers. You don’t necessarily have to nail every single hole–one in every two holes is fine.
If the edges of the restraint are prone to warping, cover them with dirt or sand after installation. A properly fitted edge restraint is sure to keep your pavers from shifting this time around.
This video by Western Interlock will show you how to properly install an edge restraint:
8. Use Spikes To Secure the Edges
The edges of most structures need to be anchored to the ground to prevent shifting. To that effect, you can keep your paver edging in place with spikes. Spikes will work best when they’re about eight to ten inches (20 to 25 centimeters) apart.
9. Level the Pavers
Finally, compact the stones by tamping them down. As a result of the compaction, some of the bedding sand is lowered, and the pavers are leveled.
Any uneven pavers can be gently tapped into place on the sand with a rubber mallet. Compare the height of new pavers with surrounding ones to adjust the amount of sand needed.
10. Seal the Edges of the Pavers
It’s essential to seal the edges of the pavers to ensure they stay in place. You can use a push broom to spread sand over them. Make sure the sand fills in the gaps between the pavers.
Once all the gaps have been filled, wet the sand a little bit and brush away any excess sand.
Key Takeaways
Your patio area should be a functional place where you can relax and pretty much do anything else you desire.
These are the points to remember to avoid shifting pavers:
- Remove bad pavers and replace them with new ones.
- Remove base and edge restraints and replace them with the right kinds.
- Secure the edges with spikes.
- Tamp down on the stones.
- Seal the edges of the pavers.
You can resurface a patio or walkway in a reasonable amount of time without significant hassle. If you aren’t able to install pavers on your own, you can try hiring a professional.
Sources
- Miami New Construction Show: Our Home Blog: How Do You Fix Moving Pavers – How do I stop my pavers from shifting?
- JSBrick Corporation: How to keep pavers from shifting?
- Western Interlock DIY: Paver Edging Problems: How to Fix Loose Edge Pavers
- How to Hardscape: Edge Restraint For Pavers: Choosing the Best Paver Edge Restraint
- YouTube: Western Interlock: How to Install Edge Restraint
- Oregon State University: 10-Step Guide to Installing Pavers
- Dream Style Remodeling: 5 Important Things to Check During a Quick Patio Inspection