Have you noticed some boards on your deck that are looking out of place? If you have old, soft, damaged, or rotting boards, you will want to replace them sooner rather than later.
Waiting will only cause you trouble — trust me, I know from experience how bad wooden boards can get.
If you want to remove old boards from your deck, you have come to the right place. In this guide, I will be explaining how to do this safely and efficiently, so you can have a deck that looks good as new again.
Let’s get started!
How To Know When to Remove Boards
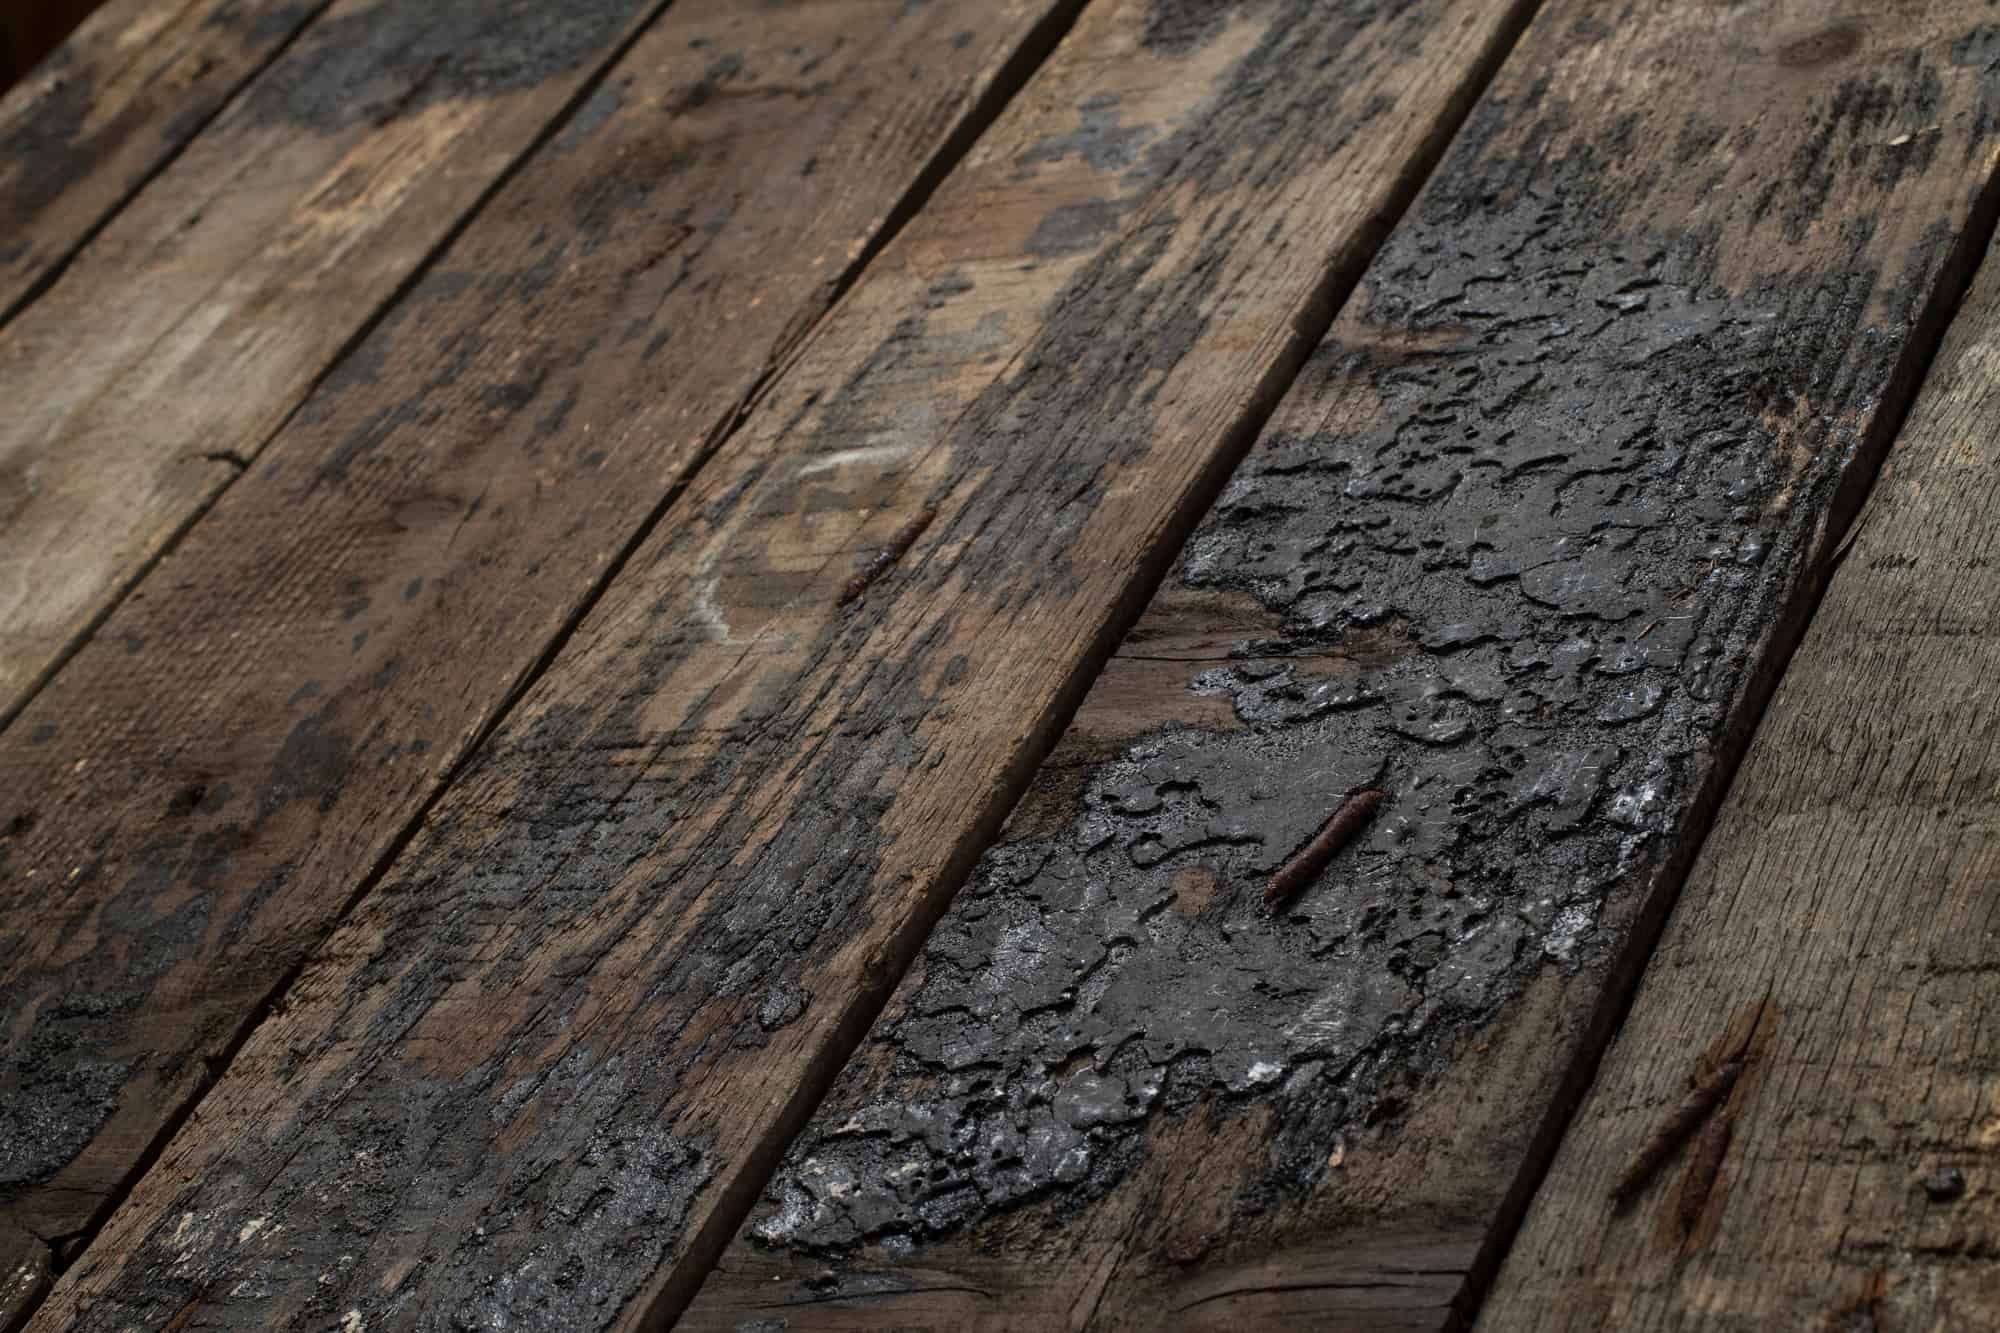
Simply put, you will be able to tell if there is visible rot on the planks.
There are times when a board has too much “bounce” when you step on it. Cracks and deterioration mean that you need to replace those boards right away.
Overall, if something seems off about a deck board, check it out. If I see rotting, cracks or the board does not feel secure, it is time for it to go.
Suppose you want an alternative product to use. In that case, composite decking works nicely and does not succumb to water damage over the years. I use it myself and think that it looks beautiful.
How Do I Remove Rotting Deck Boards?
To remove deck boards, you will need a claw hammer or drill to remove the screws and nails. You may also want to have an extra tool on hand to help with digging out nails in the wood.
Plus, for my method, I use two crowbars to get the job done.
I always try to remove the board without harming the nearby ones, although this is usually easier said than done. You will want to start by removing the nails, screws, or fasteners.
Take a crowbar and wedge it between the board you want out and the one beside it. In most cases, you should be able to pop it up quickly. I always leave the crowbar wedged there to make removing the board easier.
Slide the second crowbar in about 6 inches away from the last one. Then, pick up the first crowbar and repeat. You will need to work your way down the length of the board to dislodge it completely.
Sometimes, especially with water damaged boards, they crack. Because of this, you will want to have a pair of safety glasses or goggles on. The goggles stop pieces of wood that break off from harming your eyes. The more damaged your boards are, the more splitters that they will fling up.
Overall, this is the method that I find the easiest. It prevents the nearby boards from getting damaged and does not take too long to finish the project.
What is the Best Method for Replacing Boards?
When you know it is time to start removing those deck boards; you can follow my method. I always start by marking the panels I need to remove with a carpenter’s pencil. You might miss a few or remove the wrong ones if you skip this first step.
Next, you will need to remove the fasteners. Nails and screws are easy, but hidden deck fasteners can be harder to find. You can remove those materials by using a pry bar, drill, or even a screwdriver will work.
If you are having trouble with the hidden deck fasteners, I find that cutting the board makes the process easier. From there, you can pull it up in convenient sections using two crowbars in the method I covered above.
While removing boards, I find it best always to check out the joists. They might also be rotting or aging, so I chisel away those sections. After that, I repair the chiseled areas with wood putty.
It’s important to plane and sand your deck after the area is repaired.
Next, you can apply a thick coat of your favorite clear sealer to the joist (related: Does Old Deck Stain Eventually Go Bad?). Once it dries, I always make sure to go over it with a second coat. If you feel the joist needs reinforcement, you can do that at this stage too.
Finally, you can measure your replacement deck board and attach it to the joists with screws, nails, or fasteners — it is up to you.
Why do Decks Rot?
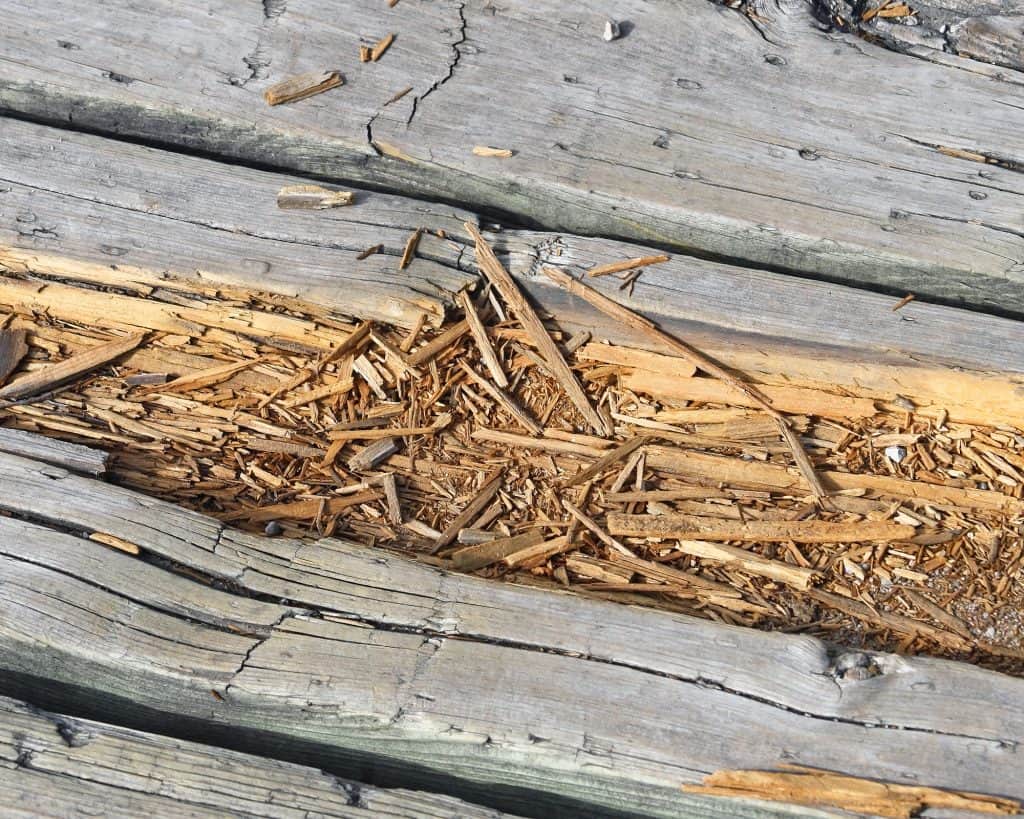
Wood is a durable material and should last you a very long time. However, there is still the chance that it starts to rot. Water is an enemy to wood, and your deck is probably exposed to it quite a bit during the year.
Moisture makes decks rot, mostly if the water sits and pools on your boards for long periods. Insects can also cause your deck to wear out faster than it would normally. Bugs can burrow or chew through wood, giving the water a sure pathway inside.
If that is the case, you may need an exterminator to handle it. You should do this before replacing the deck boards since the insects will just move into your brand new ones.
Your screws can even cause the wood to rot. When this happens, it is called galvanic rot. It is caused by the chemicals on the screws or nails reacting poorly with the wood.
You will need to remove the entire board to fix it — plus, make sure you use different nails next time!
Conclusion
If your deck is aging or rotting, you will want to repair the boards as soon as possible. To do this, you can follow my method above to remove the panels and get a new set in place.
Many things can cause your deck to rot, and they can happen to anyone. If you want to make your deck look brand new again, you can at least take solace in the fact that the project will probably only take up one weekend — less if you are lucky.
If you have any questions or want to learn more, check out some of my other articles on this site. I have a lot of material you may enjoy reading.