Building a retaining wall is a decorative and functional way to add value to your home. Most landscaping projects like retaining walls require a small initial investment but have the potential of adding visual interest and value to your property.
To properly set up a retaining wall base:
- Decide on the ideal location.
- Determine the need for concrete footings.
- Use gravel for small retaining walls.
- Spread a layer of sand to help the wall settle evenly.
- Install the landscape fabric.
- Lay blocks along the foundation wall.
In this article, I’ll explain how to set up a sturdy retaining wall base, from determining whether your wall needs concrete footers or not to building and finishing your retaining wall.
Now, one word of caution — no amount of online research is a substitute for a tradesman’s expertise. If you’re not confident in your ability to build a retaining wall foundation, contact a professional! After all, an improperly built base is a major reason for retaining wall collapse.
1. Decide on the Ideal Location
To get started, you need to decide where you want your wall. You’ll need to measure the slope of your landscape to decide how high your retaining wall should be. Using wood stakes and string to mark your measurements, place stakes at the base of where you want your retaining wall to be built.
Marking the location with landscape spray paint or stakes will make it easy to see where you need to work.
If you need help determining a location (or have other retaining wall questions), check out our complete resource.
2. Determine the Need for Concrete Footings
Since retaining walls are meant to withstand horizontal pressure from the ground against them, you would not need concrete footings if your wall is short and wide enough.
If it is a tall, narrow wall that will be holding excessive weight from the ground against it, then you may want to consider footing the wall with rebar and poured concrete footings so as to distribute pressure evenly throughout the wall.
The typical concrete footer should be two times the width of a wall and equal in depth to the wall’s width. The footer should rest on a 6″ gravel base set below the frost line.
If your wall needs a concrete footer, you’ll need to:
1. Prepare the Ground
Dig a hole wide enough for your footer and remove any plants and big roots to make a firm surface on which to pour your foundation. After that, dig out any additional dirt in the way and leave adequate room for the concrete footing to be poured.
The minimum thickness of concrete wall footings should be at least 6 inches (15.24 cm), but you’ll need to dig out an additional 4-6 inches (10.16-15.24 cm) to accommodate the form.
2. Create a Form
To create a form for a concrete footing, you’ll need to:
- Use 2″x4″ (5.08×10.16 cm) boards and strong post supports fastened together to make a frame.
- Build it out of sturdy wood like treated pine, redwood, or cedar.
- Measure the width of your footer and secure the frame together tightly.
Your concrete footer will be integral to stabilizing your retaining wall, so you want to make sure it is sturdy and well-formed.
3. Pour the Concrete Footing and Allow It To Set
Once your form is secure, you can pour your concrete footing. For improved drainage, add a layer of gravel or crushed stone before pouring concrete into your form.
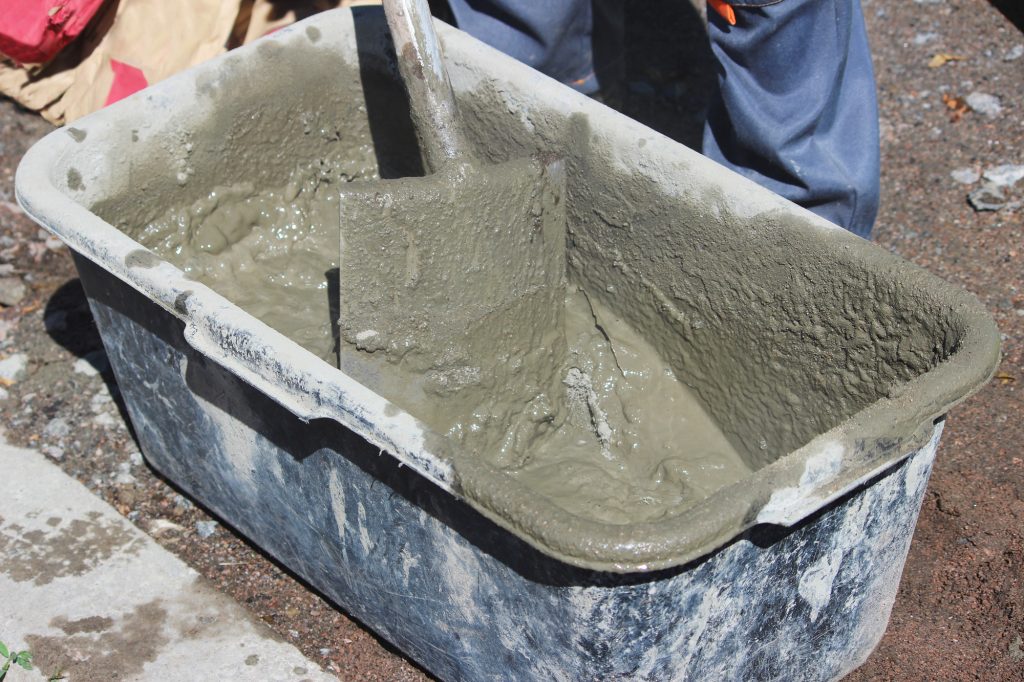
It’s important to pour the concrete in even layers so it can set without cracking, so spread your concrete with a gravel screed board that is level. Always follow the manufacturer’s instructions when mixing concrete. In general, your concrete mixture should be the consistency of cake batter.
You want it to be thick enough that you can’t pour, but not so thick that it feels like concrete. Pour the concrete into the empty gap in the wood form you erected. Begin on one side of the footing and work your way across before leveling everything out
Allow your concrete footer to set. Once dry, remove the wood form from the footing. You should allow at least 5 to 7 days for the concrete to cure before continuing construction. In areas where freezing temperatures are common, you’ll need to wait even longer for the concrete footing to dry completely.
Pouring a concrete footer is a simple project that can help you create a solid foundation for your wall before building it up with rock, wood, or other materials.
3. Use Gravel for Small Retaining Walls
Since smaller retaining walls don’t require concrete footers, you’ll need a solid foundation of gravel instead. This method is simple and inexpensive; however, it does require more work to make sure the wall doesn’t shift or settle over time.
Shape the gravel into a bed that’s about 6 inches (15.24 cm) high at its highest point and slopes gently away from the footing until it forms a wide base of support for your wall. Compact the gravel with a hand tamper or walking compactor before adding more layers on top of it.
Gravel–or crushed stone if you prefer–provides adequate drainage so water won’t accumulate against your structure but won’t be able to pass through it quickly either, which can cause it to shift over time.
4. Spread a Layer of Sand To Help the Wall Settle Evenly
Spread a 2-inch (5.08cm) layer of sand over the gravel to help the wall settle evenly. Compact the sand with a hand tamper or walking compactor before adding more layers on top of it. A layer of sand will ensure your wall settles evenly so it won’t lean or shift.
5. Lay Down the Landscape Fabric
Lay landscape fabric on top of your sand layer to run perpendicular to the foundation wall before placing any more sand because it will help control erosion. Landscape fabric will cover the back of the retaining wall, with the end placed under the capstones of the wall.
6. Lay Blocks Along the Foundation Wall
If your retaining wall is a natural stone, brick, or concrete block, lay the individual blocks along the foundation wall with their corners butted up against one another.
Begin laying blocks to form your retaining wall along your foundation while keeping in mind you’ll be building up. One option is to use a masonry adhesive to hold the blocks together while you build. As you build each level of your retaining wall, make sure to press the blocks firmly together.
Before placing the capstones, be sure to bring the landscape fabric up over the back of your retaining wall. Secure the capstones over the fabric.
When it comes time to start filling your retaining wall, you’ll want to go with a special blend of sand and soil that’s designed for use as backfill. Try using about two parts sand to 1 part topsoil. Use enough soil so that there are no low spots where water can pool or deep holes beneath joints between blocks.
Conclusion
Building a base for a retaining wall is not all that difficult to do, but it does take time and effort. By taking your time and making sure you’re doing everything properly, however, you’ll see just how satisfying watching your wall come together can be.
Depending on the size of your wall, creating concrete footers may be necessary. For smaller walls, though, a gravel and sand base will do just fine. No matter the base of your retaining wall, remember to build it up gradually and check that your wall is level throughout the process.