The house we moved into 6 years ago had a great retaining wall in the back which kept a huge mound of dirt at bay. We built a concrete patio below it and took advantage of the outdoor space the best we could. However, it didn’t take long before we noticed that the wall was shifting forward slightly.
Needless to say, we were concerned. There was no way around it, something had to be done.
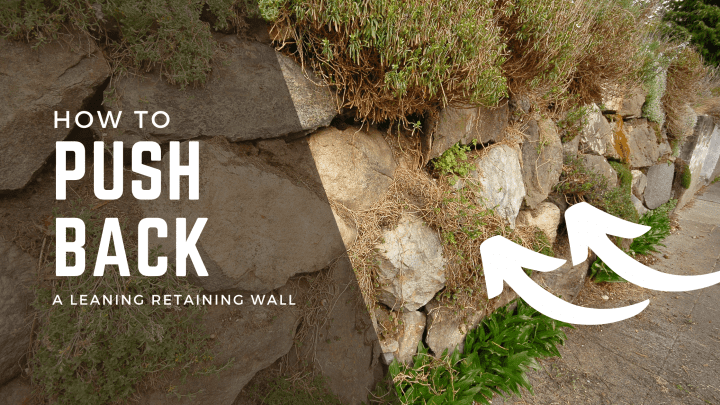
Naturally, your retaining wall helps prevent erosion, and it can also hold back dirt post-excavation. However, you may be in the situation that I was and want to push it back to reclaim space for your patio or a new sitting area. But how can you do it?
Here’s how to push back a retaining wall:
- Check your building codes.
- Prepare the retaining wall area.
- Begin removal of the wall.
- Remove wall caps.
- Transport the dirt or debris to the new site.
- Construct a new foundation on the new site.
- Move the wall line to the new area.
The rest of the article will cover the steps above in more detail. We’ll also look at the top causes of retaining wall problems post push back and what you can do to avoid them.
1. Check Your Building Codes
In some jurisdictions, you can’t alter any walls over 3 feet (0.91 m) tall without a permit. The permit often comes after an inspection. If the wall is unstable or near a public utility, you may be required to call in a professional landscaping company to handle the retaining wall push back.
Check your municipal offices to see what’s required.
2. Prepare the Retaining Wall Area
You need to clear the area before you can work on the wall. Move plant pots, furniture, BBQ set up, children’s toys, etc. If you have trees around the wall, you may need to uproot them for replanting when you’re done with the project.
You should also consider cordoning off the area to keep out pets or little kids from the area while you work. It’s risky to be around heavy machinery, and the sheer weight of the dirt you’ll let loose during the project can cause injuries.
3. Begin Removal of the Wall
Stand behind the wall to avoid falling dirt and stones when the wall starts coming off. Work from part and slowly move to the other side. You’ll need tools like a pry bar or hammer for difficult sections of the wall. If you have a concrete wall, then you’ll need to hire heavy-duty machinery like a bobcat to break it down.
4. Remove Wall Caps
If you have caps on your retaining wall, you’ll need a chisel and hammer to work through the adhesive. With the adhesive exposed, you can remove the caps right there. Dump any portions that are no longer useful and set aside useful portions on a tarp. Continue removing the wall material from the top down.
5. Transport the Dirt or Debris to the New Site
Using a bobcat or similar machinery, you can remove the dirt from the old site and move it into your newly cordoned-off position. You should do this first before reconstructing the wall. If you don’t want to retain the dirt or debris, you can clear the area. If you intend to use the space behind the retaining wall for gardening, you probably won’t need to retain the old dirt.
6. Construct a New Foundation on the New Site
You need a compact foundation that can hold your wall in the new position. Dig around the mapped-out area and compact the soil properly. You should also ensure the footing is deep enough to withstand the weight of saturated soil. This article goes into more detail on building the foundation of your retaining wall.
7. Move the Wall Line to the New Area
With the foundation at the new site completed, you can start building your new wall. Wood, bricks, and rocks saved from your initial demolition can save you some money here. If you don’t have enough, you’ll need to mold new bricks or buy ready-made ones. Be sure to install a drainage pipe or two in the middle of the wall for water to run off.
Causes of Retaining Wall Problems After Pushback
Is your retaining wall cracking or heaving? Some of the common causes of problems in your retaining wall post-pushback include the following:
Inadequate Drainage
Saturated soil is one of the most common causes of retaining wall problems. When water builds up in the soil or backfill excessively, the pressure on the wall increases significantly. The increased weight can overstretch the retaining wall.
Building drainage into your construction, as mentioned above, is a good way to ensure the water always flows through the wall instead of putting pressure on it. You should also consider using materials such as pea gravel in your backfill to avoid saturation.
Excessive Load
If your retaining wall was designed to hold some excavated dirt, planting trees on the dirt will increase the weight load. Similarly, converting the walled area to a shed or a car park will cause the wall to lean over and topple over time.
If you want to convert the retaining wall area for any such use, it’s best to extend the footing of the base or thicken it with some concrete. To figure out how much weight a retaining wall needs to hold back, we wrote about that here.
Weak Foundation
As mentioned above, all retaining walls need a sturdy foundation to prevent cracks or possible collapse. You should construct the foundation after considering factors such as the climate, terrain, and general properties of the soil. Some best practices include compacting the soil underneath and retaining wall footing — or you could read our full guide on how to build a strong base that will last for decades.
Overall Poor Quality Construction
Using cheap materials, placing the steel reinforcement incorrectly, and using inadequate mortar are common mistakes when pushing back a retaining wall. We’ve documented the cheapest ways to build retaining walls, but we never advise cutting corners!
If you’re unsure about your skill level, don’t take on the construction without professional help. You’ll only end up spending twice the money to get the wall redone in the end.
So, is it impossible to push back a retaining wall as a DIY job? Not necessarily. If you’ve erected structures in the past, have extra help, and can hire some heavy-duty machinery when needed, you can complete the job without hiring professionals.
However, if you’re wondering how much repair would cost, we wrote about that here.
Final Thoughts
Pushing back a retaining wall is akin to constructing a new one with the added task of taking care of the existing and the materials it’s currently holding. If you constructed the wall originally, it should be easier to replicate the feat a bit further away.
Otherwise, you can follow the steps we’ve covered above to get the job done the first time asking. As with all other home improvement projects, don’t hesitate to hire a landscaping professional if the job is overwhelming your DIY experience level.
If you’d like to learn more about retaining wall construction, we’ve compiled an informative resource here.