Installing a security camera in your home is an effective way of increasing protection and ensuring the safety of your household. Luckily, today’s security cameras come at affordable rates, and anyone wishing to enhance their household security can easily set up one at home.
The cheapest way to install a security camera is to get an affordable camera and do the installation yourself. Outsourcing security camera installations are usually expensive. However, DIY installations (when done right) are much cheaper and can enhance your home security.
This article will discuss the particulars of DIY security camera installation and how to set up these cameras on a smaller budget. So keep reading.
Installing Security Cameras on a Budget
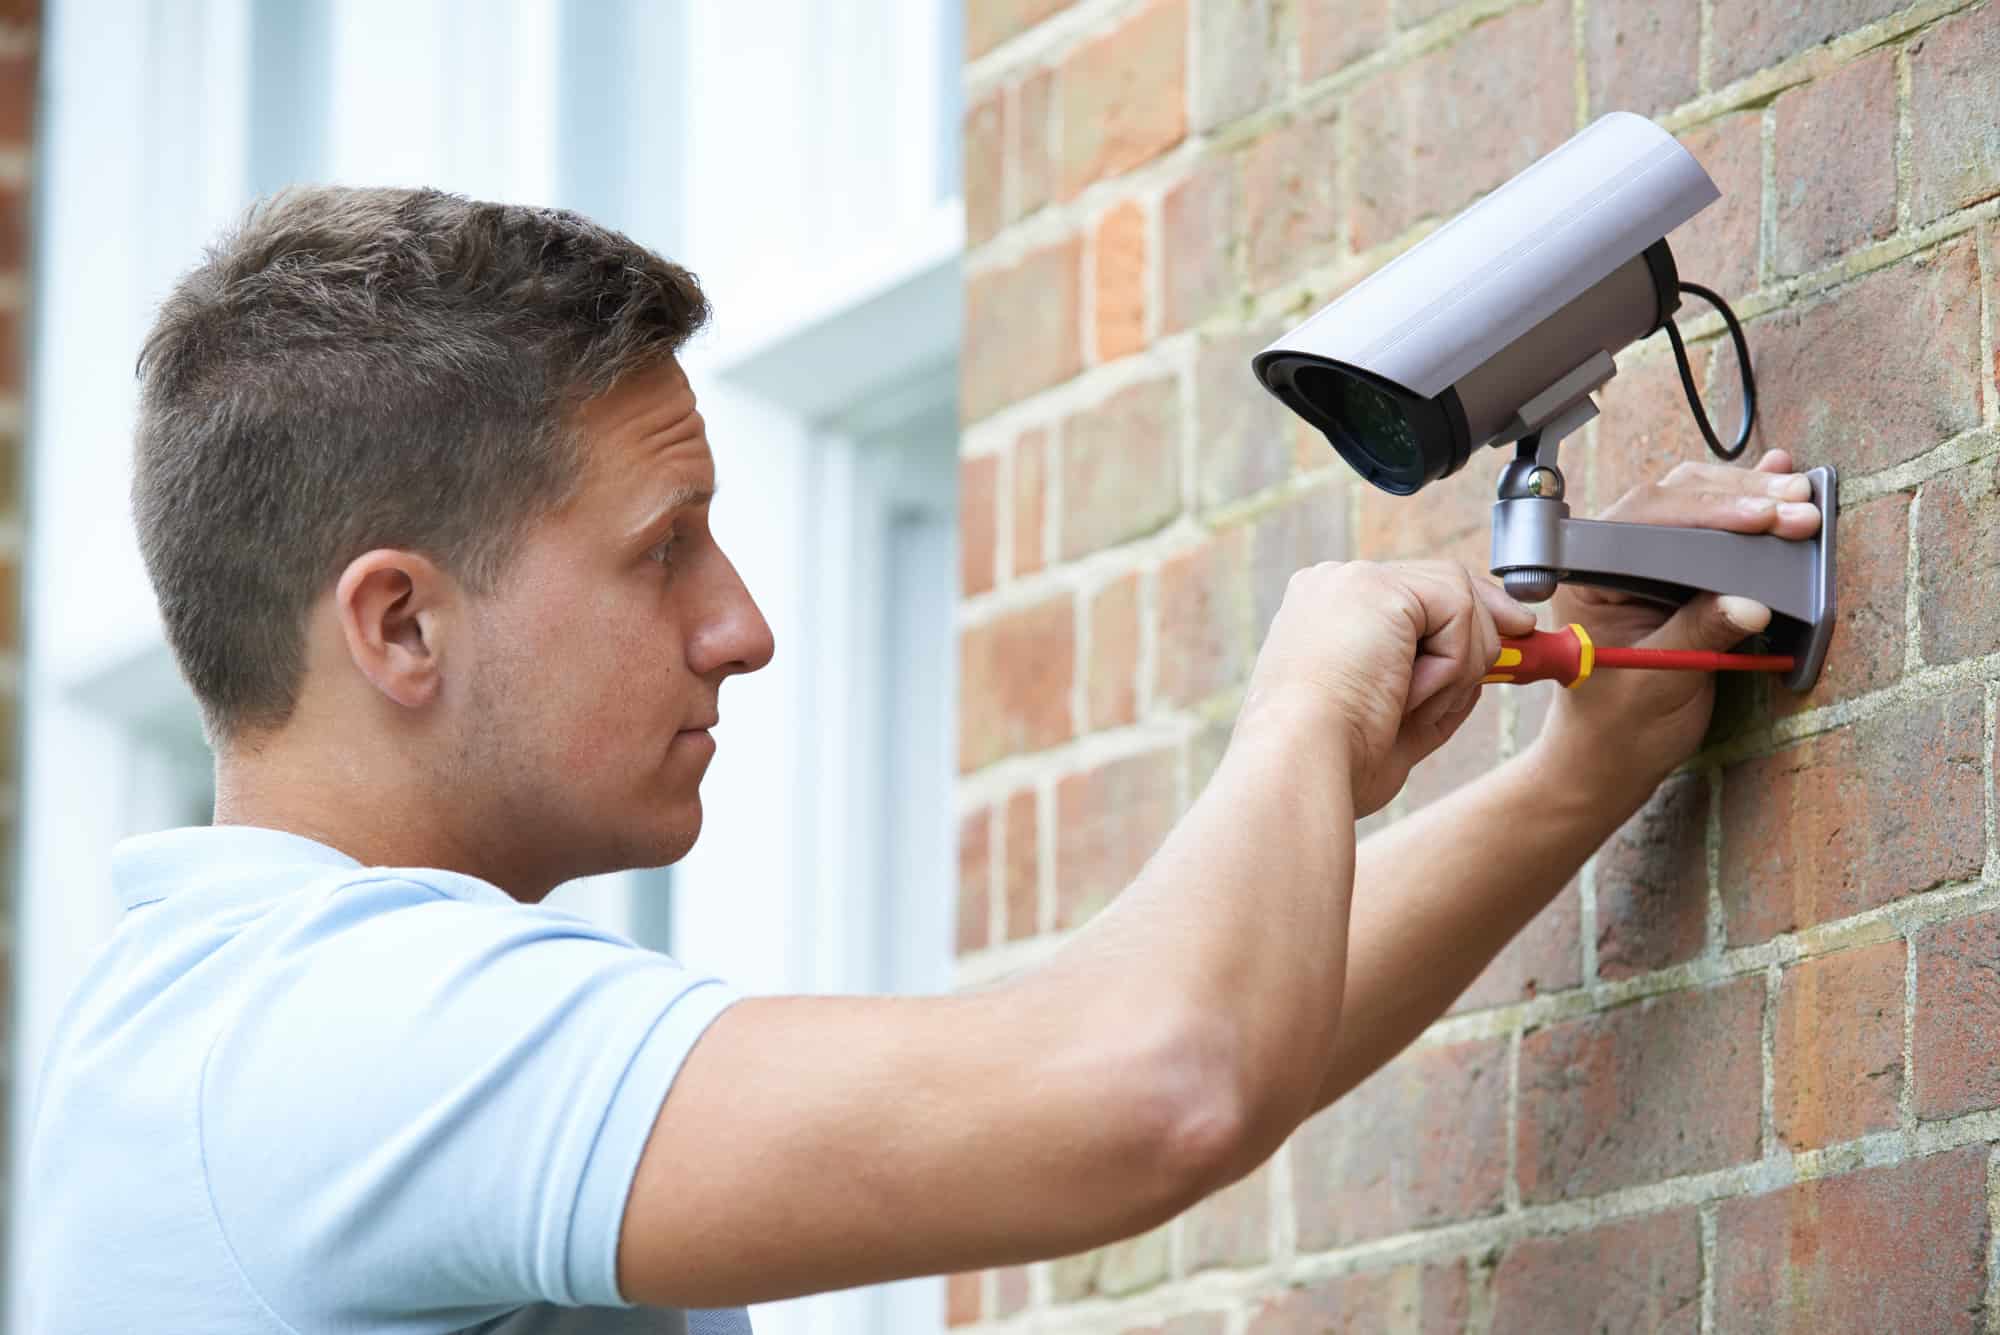
Outdoor security cameras are often harder to install as they may involve drilling holes in the wall for setting up mounts or connecting wires. The task may be daunting and challenging, but you can set your camera up without professional help with a little bit of practice.
On the other hand, indoor security cameras are pretty straightforward, and all you need to do is plug in the power cord and mount your camera at the desired surveillance point.
You can save more money by installing security cameras on your own as long as you do it right and using the right tools. Installing cameras is often an expensive affair due to the service fee paid to professionals who install them for you.
Things You Need To Know Before the Installation Process
Before setting up your camera, there are a few terms you need to familiarize yourself with. Every security camera comes with a set of specs, and it’s essential to understand the details before carrying out the installation.
TVL (Television Lines) That Shows Image Quality
TVL is a measure of the quality of the sensor in the camera and the video output it provides. A higher TVL number indicates better image quality.
However, it’s important to note that all video feed is transferred to your playback device through a composite video cable. The use of video cables means there’s a limit, and even cameras with a high TVL cannot provide playback beyond a certain level of quality.
A TVL range between 400–700 is ideal, and any manufacturer offering a higher TVL range is looking to make a quick buck. Higher resolution cameras may capture videos with higher quality, but they cannot produce quality playback beyond a specific limit.
So the first tip to cutting down on your camera installation costs is to get a security camera with a moderate TVL range as these are often cheaper than high-resolution cameras. Additionally, you’ll receive roughly the same video quality while spending less money.
BNC (Connector Plug) for Video Playback
The BNC is a type of plug that connects security cameras to your video playback device (either a TV or a CCTV monitor). This device isn’t a staple among household electronics, but it’s commonly used in the broadcasting industry, and you’re sure to find it in certain hardware stores.
You may need to snoop around a little to find the right BNC or get yourself one and convert it to a more standard plug that’s compatible with your TV. Here’s where you may need to shell out a few dollars to find the right piece.
IR CUT (Automatic Day/Night Filter) for Footage
The IR Cut-off filter is a layer of film covering the camera and ensuring that daylight footage looks normal and high resolution. But at night, the IR filter moves, allowing the camera to shoot in the dark with the help of infrared light.
When purchasing your security camera, consider whether you’re looking for one with this filter, as this feature helps achieve realistic colors in white light.
However, if you’re going for a budget camera installation, getting a security cam with the IR CUT may be unnecessary as you’ll be able to view footage in daylight either way, albeit without the realistic colors.
By narrowing down your security camera options to less expensive models without the IR CUT, you’ll be able to shave a few dollars off the installation cost.
IR LED (Illumination) for Infrared Light
The IR LED refers to the infrared light provided by the LEDs on the camera, and quite often, the IR LED will have a number next to it (in meters) indicating the distance up to which the camera can illuminate what’s in front of it.
However, this distance is often more of an estimate than a carefully measured, calculated number. A camera with a moderate IR LED distance (somewhere up to 25 m or 27.34 yards) is adequate for your home security needs.
A camera with a higher LED distance is sure to cost you more while adding little benefit to your home.
DIY Security Camera Installation
Today, most security cameras are designed for pain-free, easy installation. Indoor security cameras can be placed anywhere, plugged into a power source, and voila! You’ve got round-the-clock surveillance in a few simple steps.
Most outdoor security cameras can be mounted on a table, wall, or even attached to a magnetic surface. Whether making holes or fixing a magnetic hold into the wall, you need to be familiar with drill work.
A simple and effective way to familiarize yourself with this tool is to practice drilling on the concrete or other hard surfaces so that you’ll get the hang of it. You’ll know you’re ready when you’re able to keep your hand steady throughout the drilling process.
And once you get the hang of using a power drill, you can shave off a few dollars every year by doing household chores yourself.
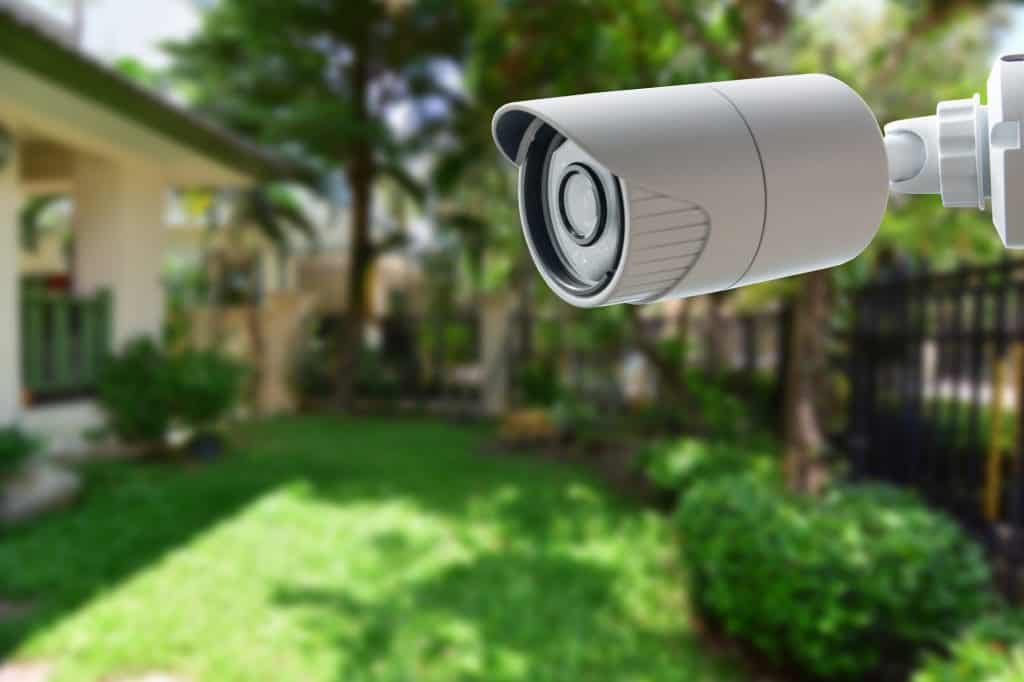
If you’re setting up an outdoor camera system, it’s crucial to get one with the capability to endure adverse weather conditions so you can use it for a prolonged time. The most effective way would be to buy a camera with a high operating temperature to ensure it stays functional throughout the year.
When installing your security camera, it’s important to determine whether you want a wired, wireless, or wire-free cam to survey your household.
Wired Cameras Should Be Close to the Power Source
Wired cameras rely on wires to connect to the power source, the internet, and your playback device to capture footage and supply feed.
A wired installation takes more drill work, and you’ll need to pay attention to the finer details, like the angle of camera placement and its proximity to the power source.
These requirements may make a wired connection seem archaic or limited; however, they are often far more stable and reliable than non-wired connections.
To install a wired security cam, keep these in mind:
- Find a stable spot on the wall where you can comfortably drill holes. Ideally, this spot should be about 9 feet (2.74 m) off the ground, so it can’t be easily reached or tweaked. The camera should not be so high that you cannot get a clear view of the ground or your front porch.
- Some cameras come with mounts or drywall anchors. Other models may require a DIY mounting stud. You’ll need to set up the necessary foundation based on the model you ultimately purchase.
- Check for existing wiring and set up the mount nearby so you can easily connect the camera to the necessary wiring.
- Mark spots on the wall and drill holes carefully. You want the holes to be large enough to transfer the wiring, yet not so large that the mount can’t be screwed in tight.
- Slip the camera wiring through the holes in the wall and connect it to the power source, your internet broadband, and the monitor where you’ll receive the feed.
Wired cameras are often cheaper than wireless or wire-free cameras, and if you’ve got the right power tools to drill holes, this is probably the most affordable investment you can make.
Watch the video below to learn more about setting up a wired day and night CCTV:
Wireless Needs a Power Cord, But Wire-Free Doesn’t
Wireless and wire-free may sound similar, but there is a significant difference between these two types of security cameras.
Of course, they need to be connected to the internet without wires, but they still require a power cord to function. Some manufacturers continue to call these cameras’ wired’ as they need a power cord to run.
Wire-free cameras run on battery packs and don’t require any wires or power cords, making set up a lot easier.
The advantage of wire-free cams is that they can be placed anywhere, as there is no wiring to be cautious of. However, it would help if you still put them near your Wifi, Bluetooth, or other wireless connections to ensure the camera transmits appropriately.
Cloud Storage Is More Secure Than Local Storage
The type of storage is another essential factor to consider when performing your budget camera installation. You can store footage in two main ways – local and cloud.
Cloud storage ensures greater security as the footage is uploaded to a cloud which can be accessed whenever you need it. This upload prevents footage loss that may occur if someone decides to steal or damage your camera.
However, many still prefer local storage as it offers a higher degree of privacy. MicroSD Cards, USB Drives, digital video recorders (DVRs), and network video recorders (NVRs) are the prime ways to access local storage.
If you opt for a camera with cloud storage, you can view footage through your phone or desktop apps and other connected devices. You’ll also be able to review playback irrespective of the camera’s condition.
Selecting the right storage type is essential when you’re setting up a video surveillance system on a budget. Cloud storage cameras may cost you a few dollars more due to the enhanced technology, but they’re a lot more secure.
You’ll need to weigh the pros and cons before making that investment.
Security Cameras Options
Now that you have an idea of how to cut down costs and set up your security camera on a low budget keep reading as I give some advice on several security cameras you may want to consider for your home.
Wyze Cam V3
Few models can beat the Wyze Cam V3 from Amazon.com when it comes to price and surveillance technology. The camera comes with a free 2 weeks’ worth of cloud storage, and additional storage can be easily purchased.
This wired security camera also offers the option of local storage with a built-in microSD card slot. The Wyze Cam V3 is also compatible with Amazon’s Alexa and Google Assistant and can be used as indoor and outdoor cameras.
Arlo Video Doorbell
The best part about doorbell cams is the sleek design and how neatly they fit into the doorbell slot right outside your home.
You may find the Arlo from Amazon.com a little more expensive than regular outdoor security cameras. However, this camera is worth the investment. You can take up their cloud subscription for just $3 a month, and with it, you get a range of customizations.
You can set up the Arlo to recognize people, pets, and packages in advance and alert you to the same across a range of electronic devices.
Blink Mini
The cute Blink Mini from Amazon.com is a straightforward indoor security camera paired with Amazon Alexa and runs on a power adapter. It’s also tiny and rarely takes up any space inside the household.
It offers the most basic surveillance features with decent-quality footage, making it a worthwhile investment for those looking to keep a nanny cam in their homes.
Final Thoughts
Security cameras can be set up at little cost, and with a basic knowledge of power tools, you can do the job efficiently.
The cheapest way to install a security camera will differ based on the household, security requirements, the size of the home, and how many cameras need to be installed to cover the space.
A large portion of the installation cost often goes toward the fee paid for professional services. However, if you’re willing to give it a shot, learning how to install your security cameras can be an effective way to save a lot of money.
Source
- Reviews.Org: How to Install a Security Camera
- Quora: What is the cheapest way to get security cameras outside my home?
- Safety: Best Places to Install Home Security Cameras
- Safe and Sound Security: The Ultimate Guide to Security Camera Installation
- Wikipedia: Television Lines
- Wikipedia: BNC Connector
- Wikipedia: IR CUT Filter
- Wikipedia: Hidden camera
- Arcdyn: What does 1000 TVL mean?
- Elemental LED: Applications for IR LED
- YouTube: Setting up a cheap, wired day and night CCTV system
- CNET: Best Cheap Security Home Cameras for 2021